TTK is also supported on other operating systems:
· Windows installation instructions;
· MacOS installation instructions.
These specific notes describe the installation procedure for a Ubuntu Linux 18.04 operating system (but the process should be very similar for other Linux distributions).
A video from our tutorial page also shows how to proceed on a step-by-step basis.
The remainder of these notes describe the installation of the version 0.9.6 of TTK along with the version 5.5.2 of ParaView. Other versions of either software packages may require slight variations in the installation procedure. For earlier versions of both software packages, you may want to check out previous versions of our installation notes:
· TTK 0.9.5 with ParaView 5.5.0,
· TTK 0.9.4 with ParaView 5.4.1,
· TTK 0.9.3 with ParaView 5.4.1,
· TTK 0.9.2 with ParaView 5.4.0,
· TTK 0.9.1 with ParaView 5.3.0,
· TTK 0.9 with ParaView 5.2.0.
1. Downloads
TTK builds on top of ParaView for its main user interface. Thus, you will first need to download ParaView's source code. Note that TTK plugins for ParaView will only work with a version of ParaView compiled from source. Thus, if you already installed ParaView with a binary copy, you may need to un-install it before proceeding. Next, download TTK from our download page.
2. Installing the dependencies
Several dependencies will need to be installed in order to compile ParaView and TTK from source. Please enter the following commands (omit the$ character) in a terminal to install them (please see
the documentation of your package manager if your operating system is not
Ubuntu Linux):
$ sudo apt-get install cmake-qt-gui

$ sudo apt-get install libvtk7-dev


$ sudo apt-get install qt5-default qttools5-dev libqt5x11extras5-dev
Note that these commands will also trigger the installation of the (numerous) dependencies of these components.
Optional dependencies
In order to enjoy the complete set of TTK features, we also recommend to install the following, optional dependencies:· ZFP
Note to non-Ubuntu users
We recommend in general to install the version 8 of the VTK library instead of the version described above (which is only recommended for Ubuntu users).Note to Fedora users
It has been reported that the following packages should also be installed under Fedora (as of version 27):lz4,
protobuf,
pugixml,
cgns.
3. Preparing the sources
Move the tarballs to a working directory (for instance called~/ttk) and decompress them by entering the following commands in
a terminal (this assumes that you downloaded the tarballs to the
~/Downloads directory):$ mkdir ~/ttk$ mv ~/Downloads/ParaView-v5.5.2.tar.gz ~/ttk/$ mv ~/Downloads/ttk-0.9.6.tar.gz ~/ttk/$ cd ~/ttk$ tar xvzf ParaView-v5.5.2.tar.gz$ tar xvzf ttk-0.9.6.tar.gzYou can delete the tarballs after the source trees have been decompressed by entering the following commands:
$ rm ParaView-v5.5.2.tar.gz$ rm ttk-0.9.6.tar.gz
4. Patching the ParaView source tree
In order to enjoy the complete set of TTK features, we recommend at this stage to patch the ParaView source tree. This step is optional. To proceed, go to the patch directory and apply it as follows:$ cd ~/ttk/ttk-0.9.6/paraview/patch$ ./patch-paraview-5.5.2.sh
~/ttk/ParaView-v5.5.2/
5. Configuring, building and installing ParaView
a) Configuration
To enter the configuration menu of ParaView's build, enter the following commands:$ cd ~/ttk/ParaView-v5.5.2/$ mkdir build$ cd build$ cmake-gui ../The configuration window opens. Click on the "Configure" button to proceed. Once the configuration is finished, please set the following options as follows (required for TTK's installation):
· CMAKE_BUILD_TYPE=Release · CMAKE_INSTALL_PREFIX=/usr/local/ · PARAVIEW_ENABLE_PYTHON=ON · PARAVIEW_INSTALL_DEVELOPMENT_FILES=ONOptionally, you may want to turn on additional features. See the ParaView build documentation for further details if needed.
Next, click on the "Generate" button and close the configuration window when the generation is completed.
b) Build
Now you can start the compilation process by entering the following command, whereN is the number of available cores on your system (this will
take a LONG time):$ make -jNc) Installation
Once the build is finished, enter the following command to install your build of ParaView on your system:$ sudo make installc) Post-installation
Once the installation of ParaView is finished, enter the following command to enable the build of TTK plugins:$ sudo chmod 777 -R /usr/local/lib/cmake/paraview-5.5
6. Configuring, building and installing TTK
a) Configuration
To enter the configuration menu of TTK's build, enter the following commands:$ cd ~/ttk/ttk-0.9.6/$ mkdir build$ cd build$ cmake-gui ../The configuration window opens. Click on the "Configure" button to proceed. At this stage, under Linux, TTK's build should be automatically configured correctly by default and Linux users can click on the "Generate" button.
Once the generation is completed, close the configuration window.
b) Build
Now you can start the compilation process by entering the following command, whereN is the number of available cores on your system (this will
take a LONG time):$ make -jNc) Installation
Once the build is finished, enter the following command to install your build of TTK on your system:$ sudo make install
Note that, in addition to the installation of TTK plugins for ParaView,
the above command also installed a collection of standalone TTK programs
that
can be used outside of ParaView,
either as command line tools or VTK-based graphical user interfaces. To list
them, enter the following commands (this assumes that you did not modify the
default TTK installation path, /usr/local/):
$ ls /usr/local/bin/*Cmd
$ ls /usr/local/bin/*Gui
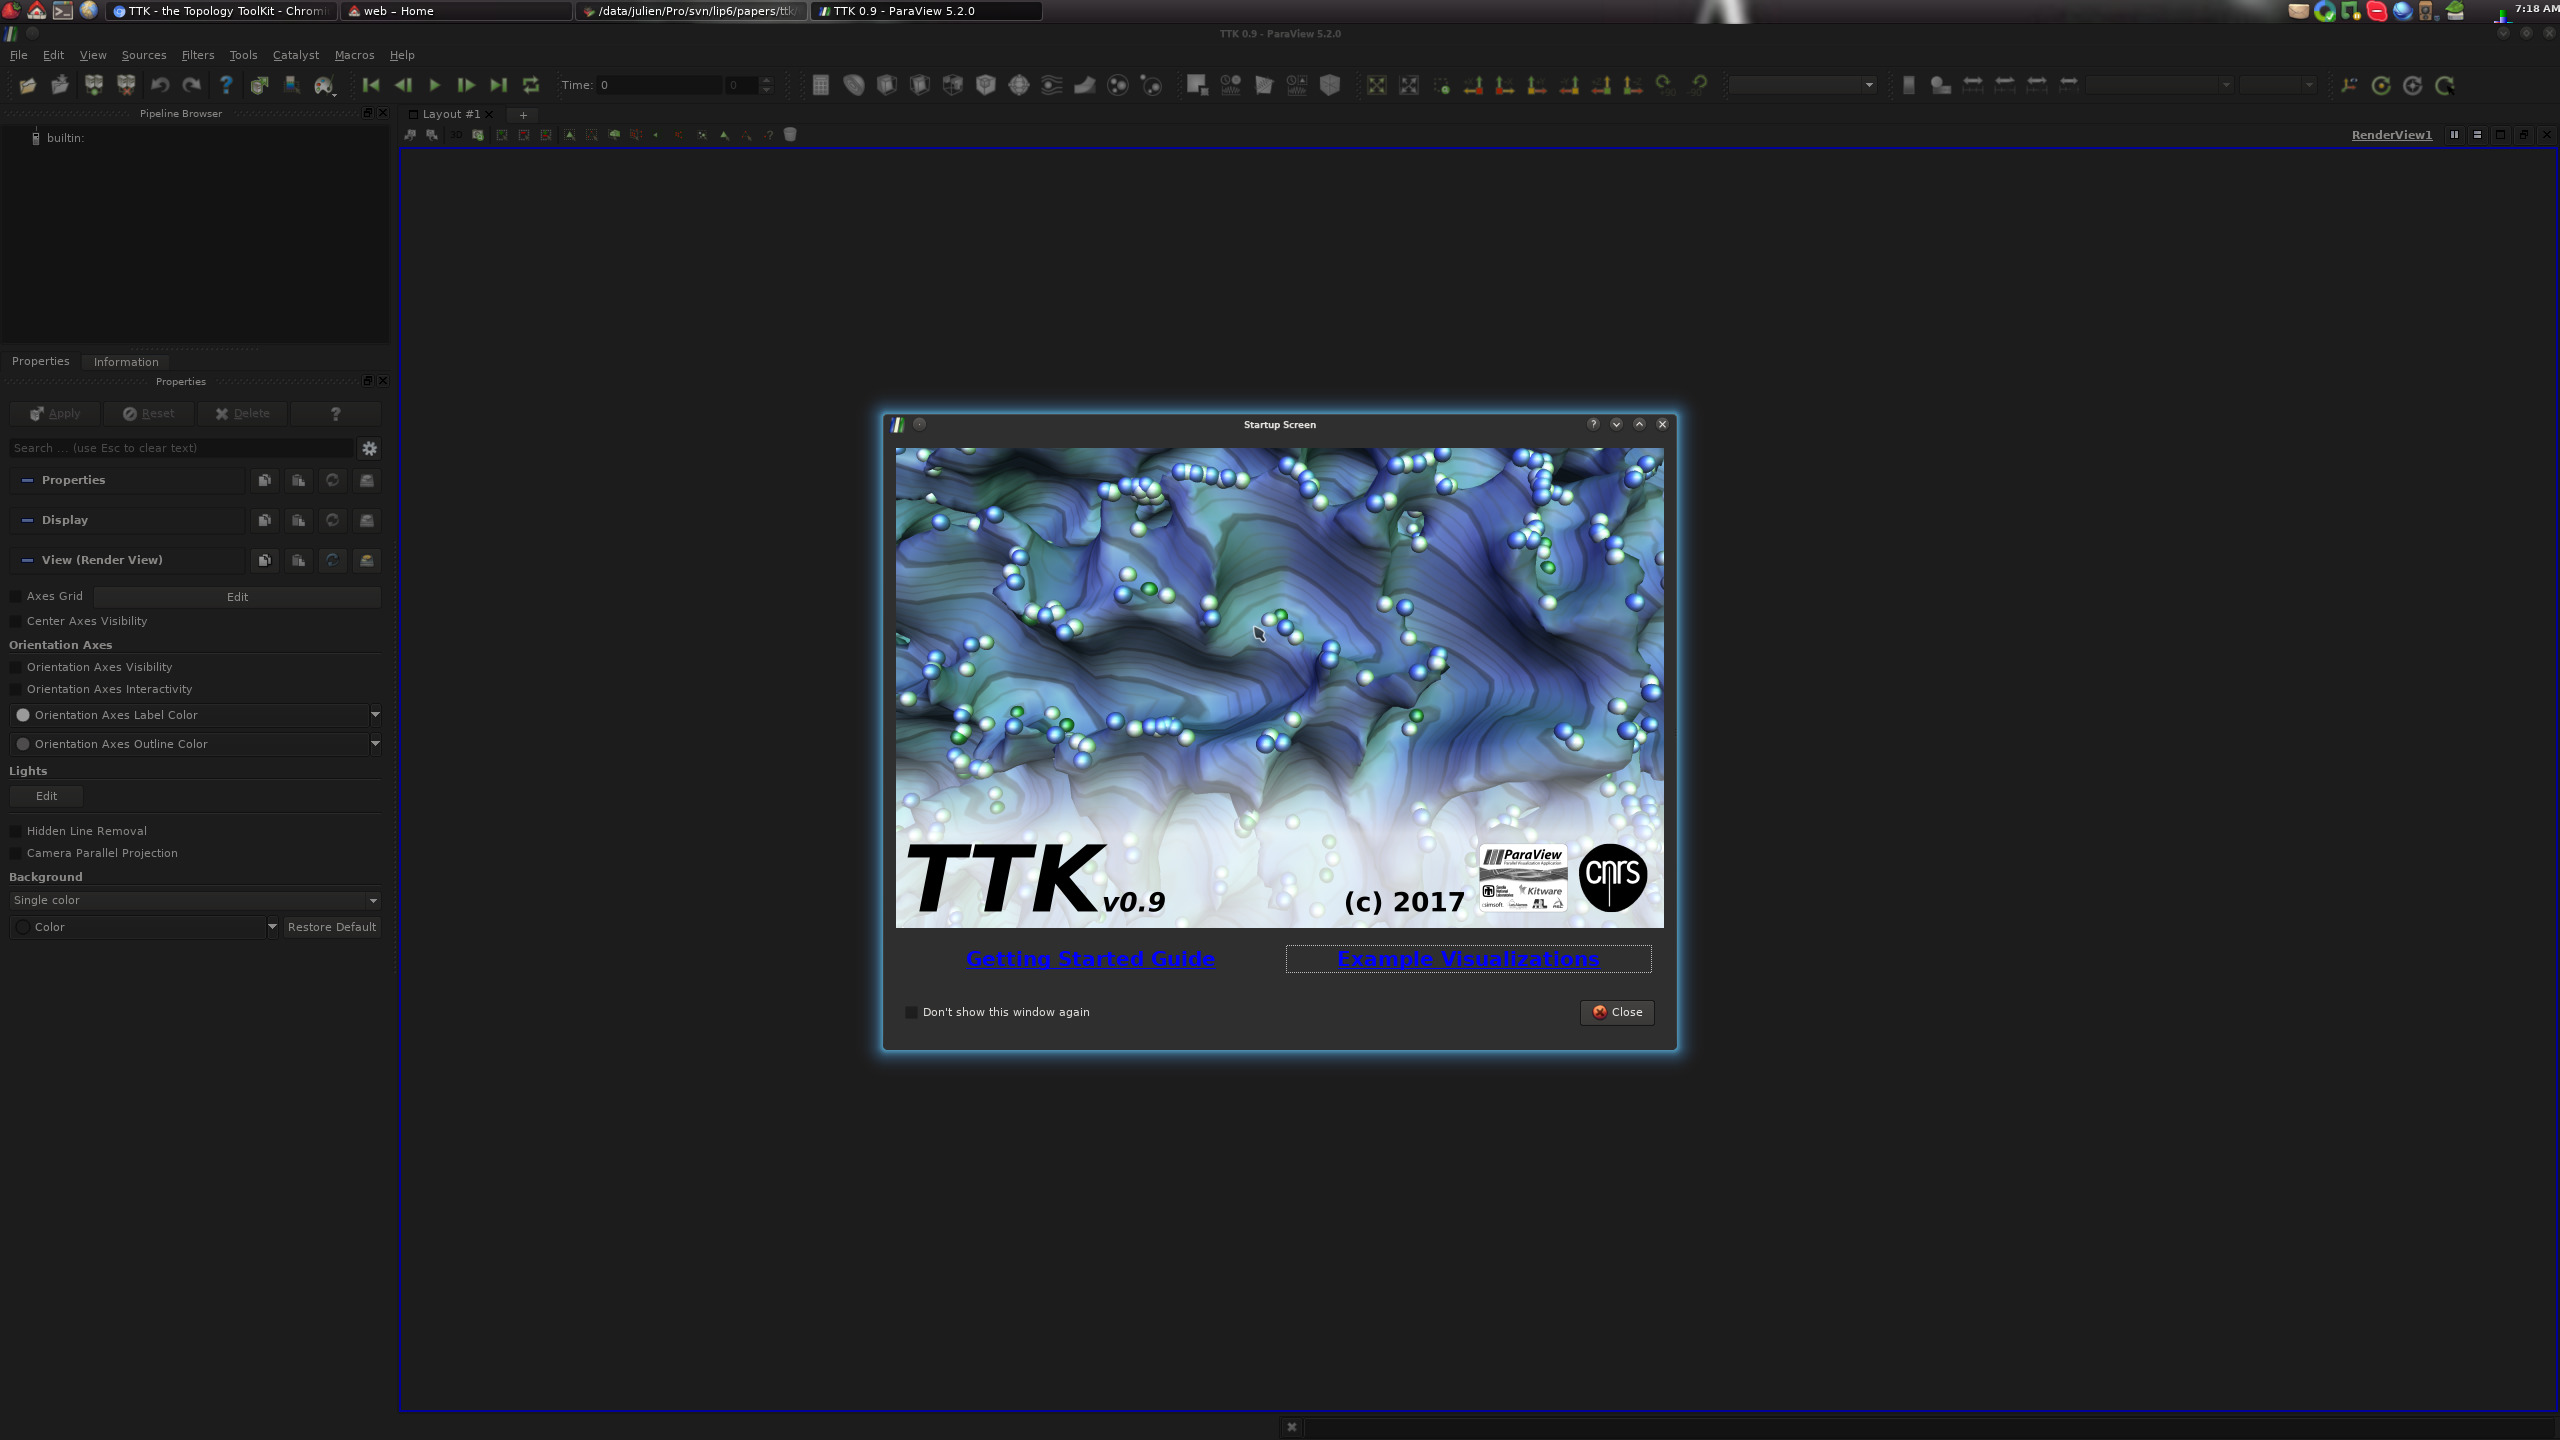
7. Checking your TTK installation
If you applied all the above steps successfully (including step 4), you can now open a terminal and type the following command to load your TTK-patched ParaView:$ paraviewAt this point, you should see the following TTK startup screen:
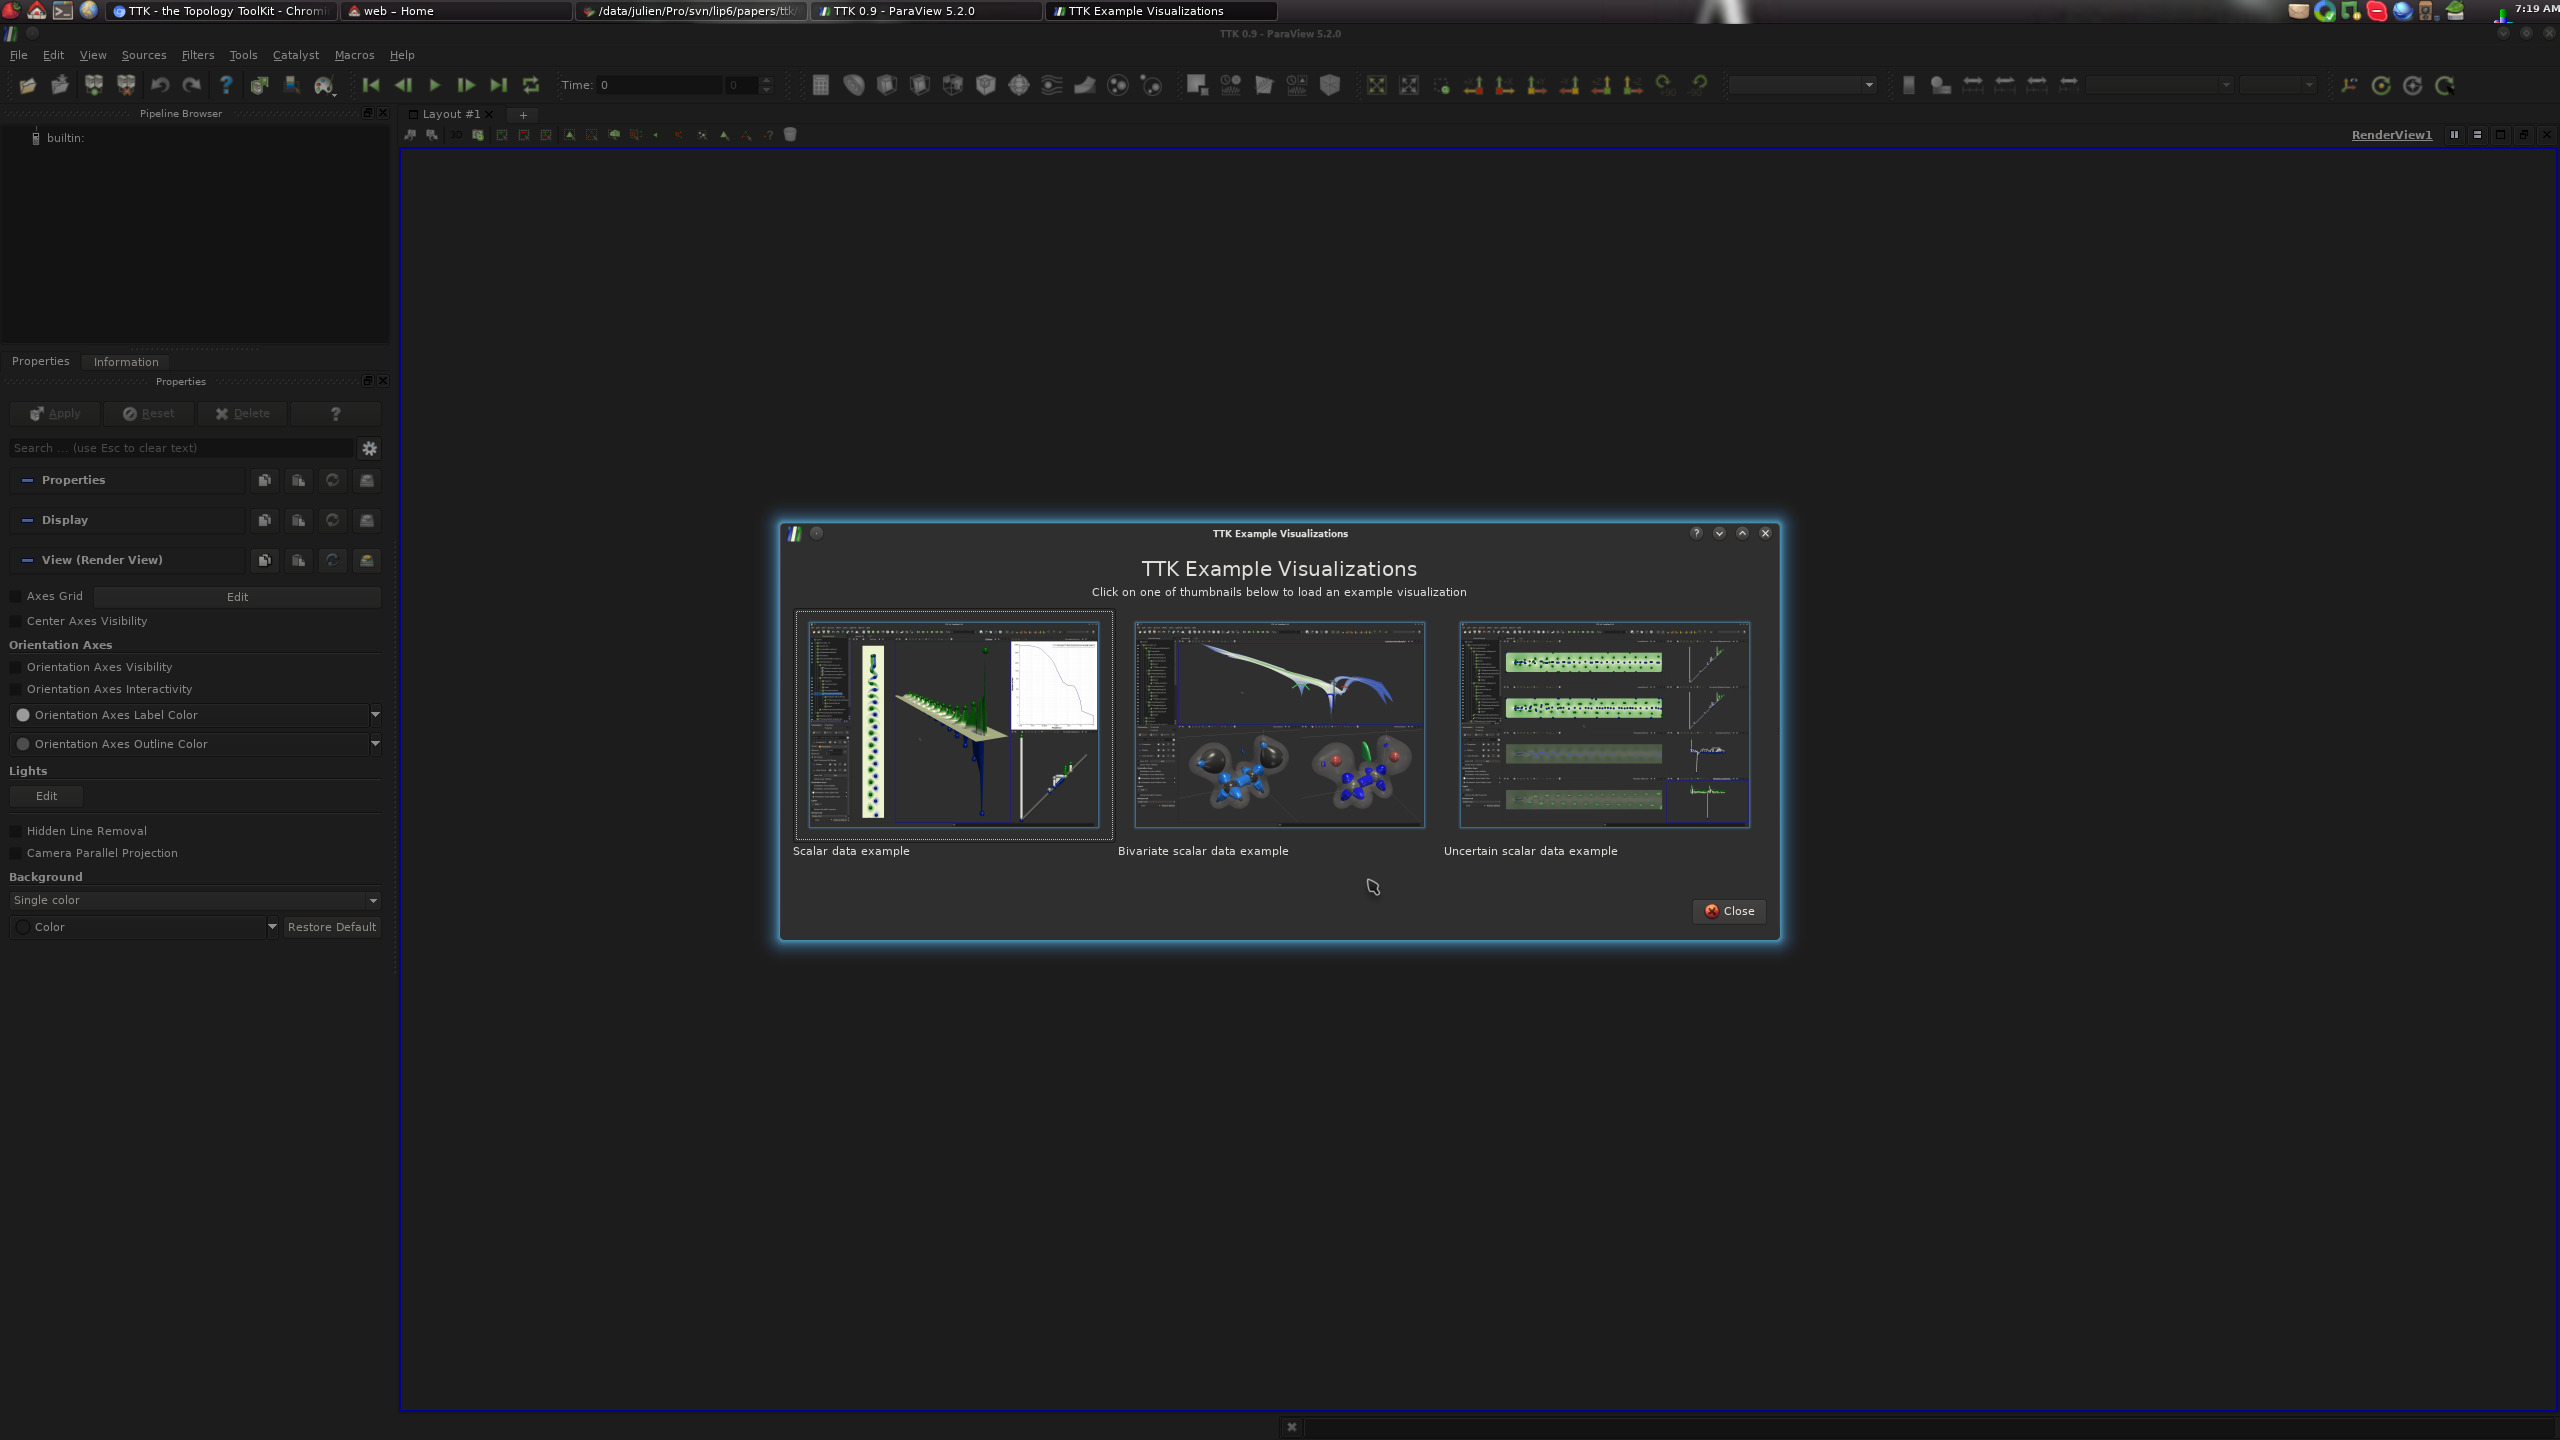
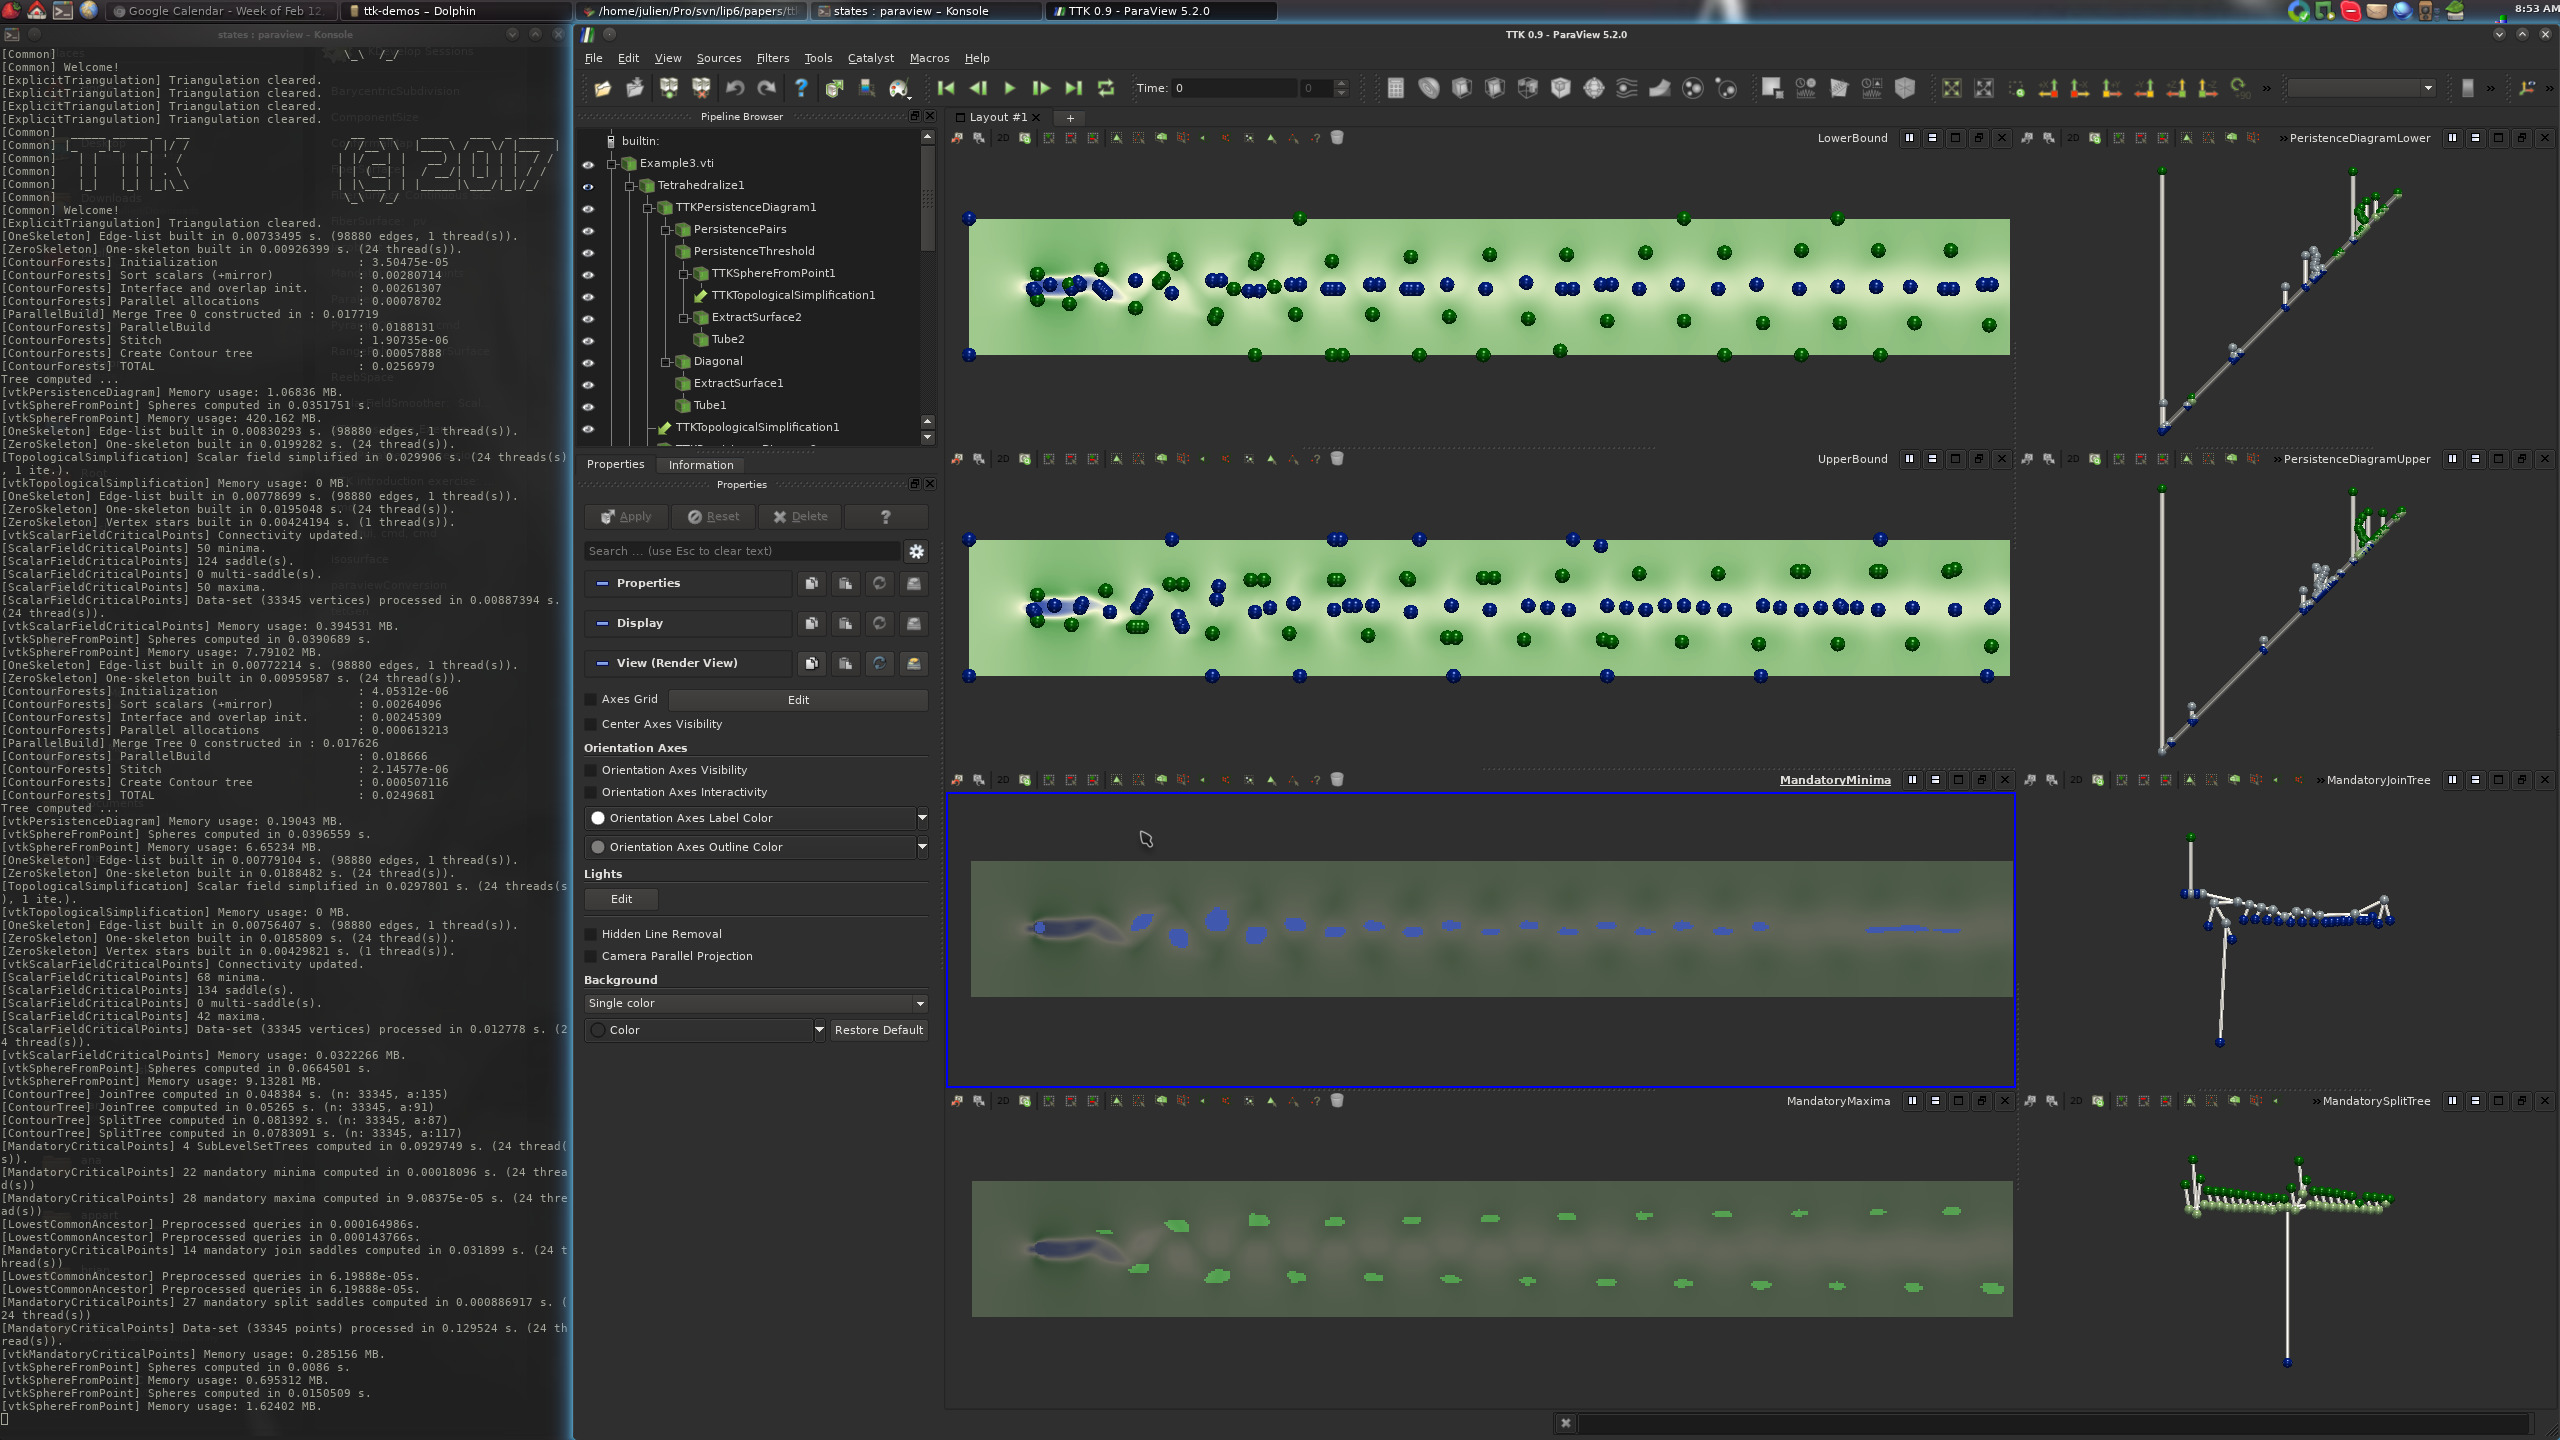
On this screen, clicking on the "Example Visualizations" link should bring you to the TTK built-in example screen:
From there, clicking on one of the three buttons should generate one of the following three visualizations:
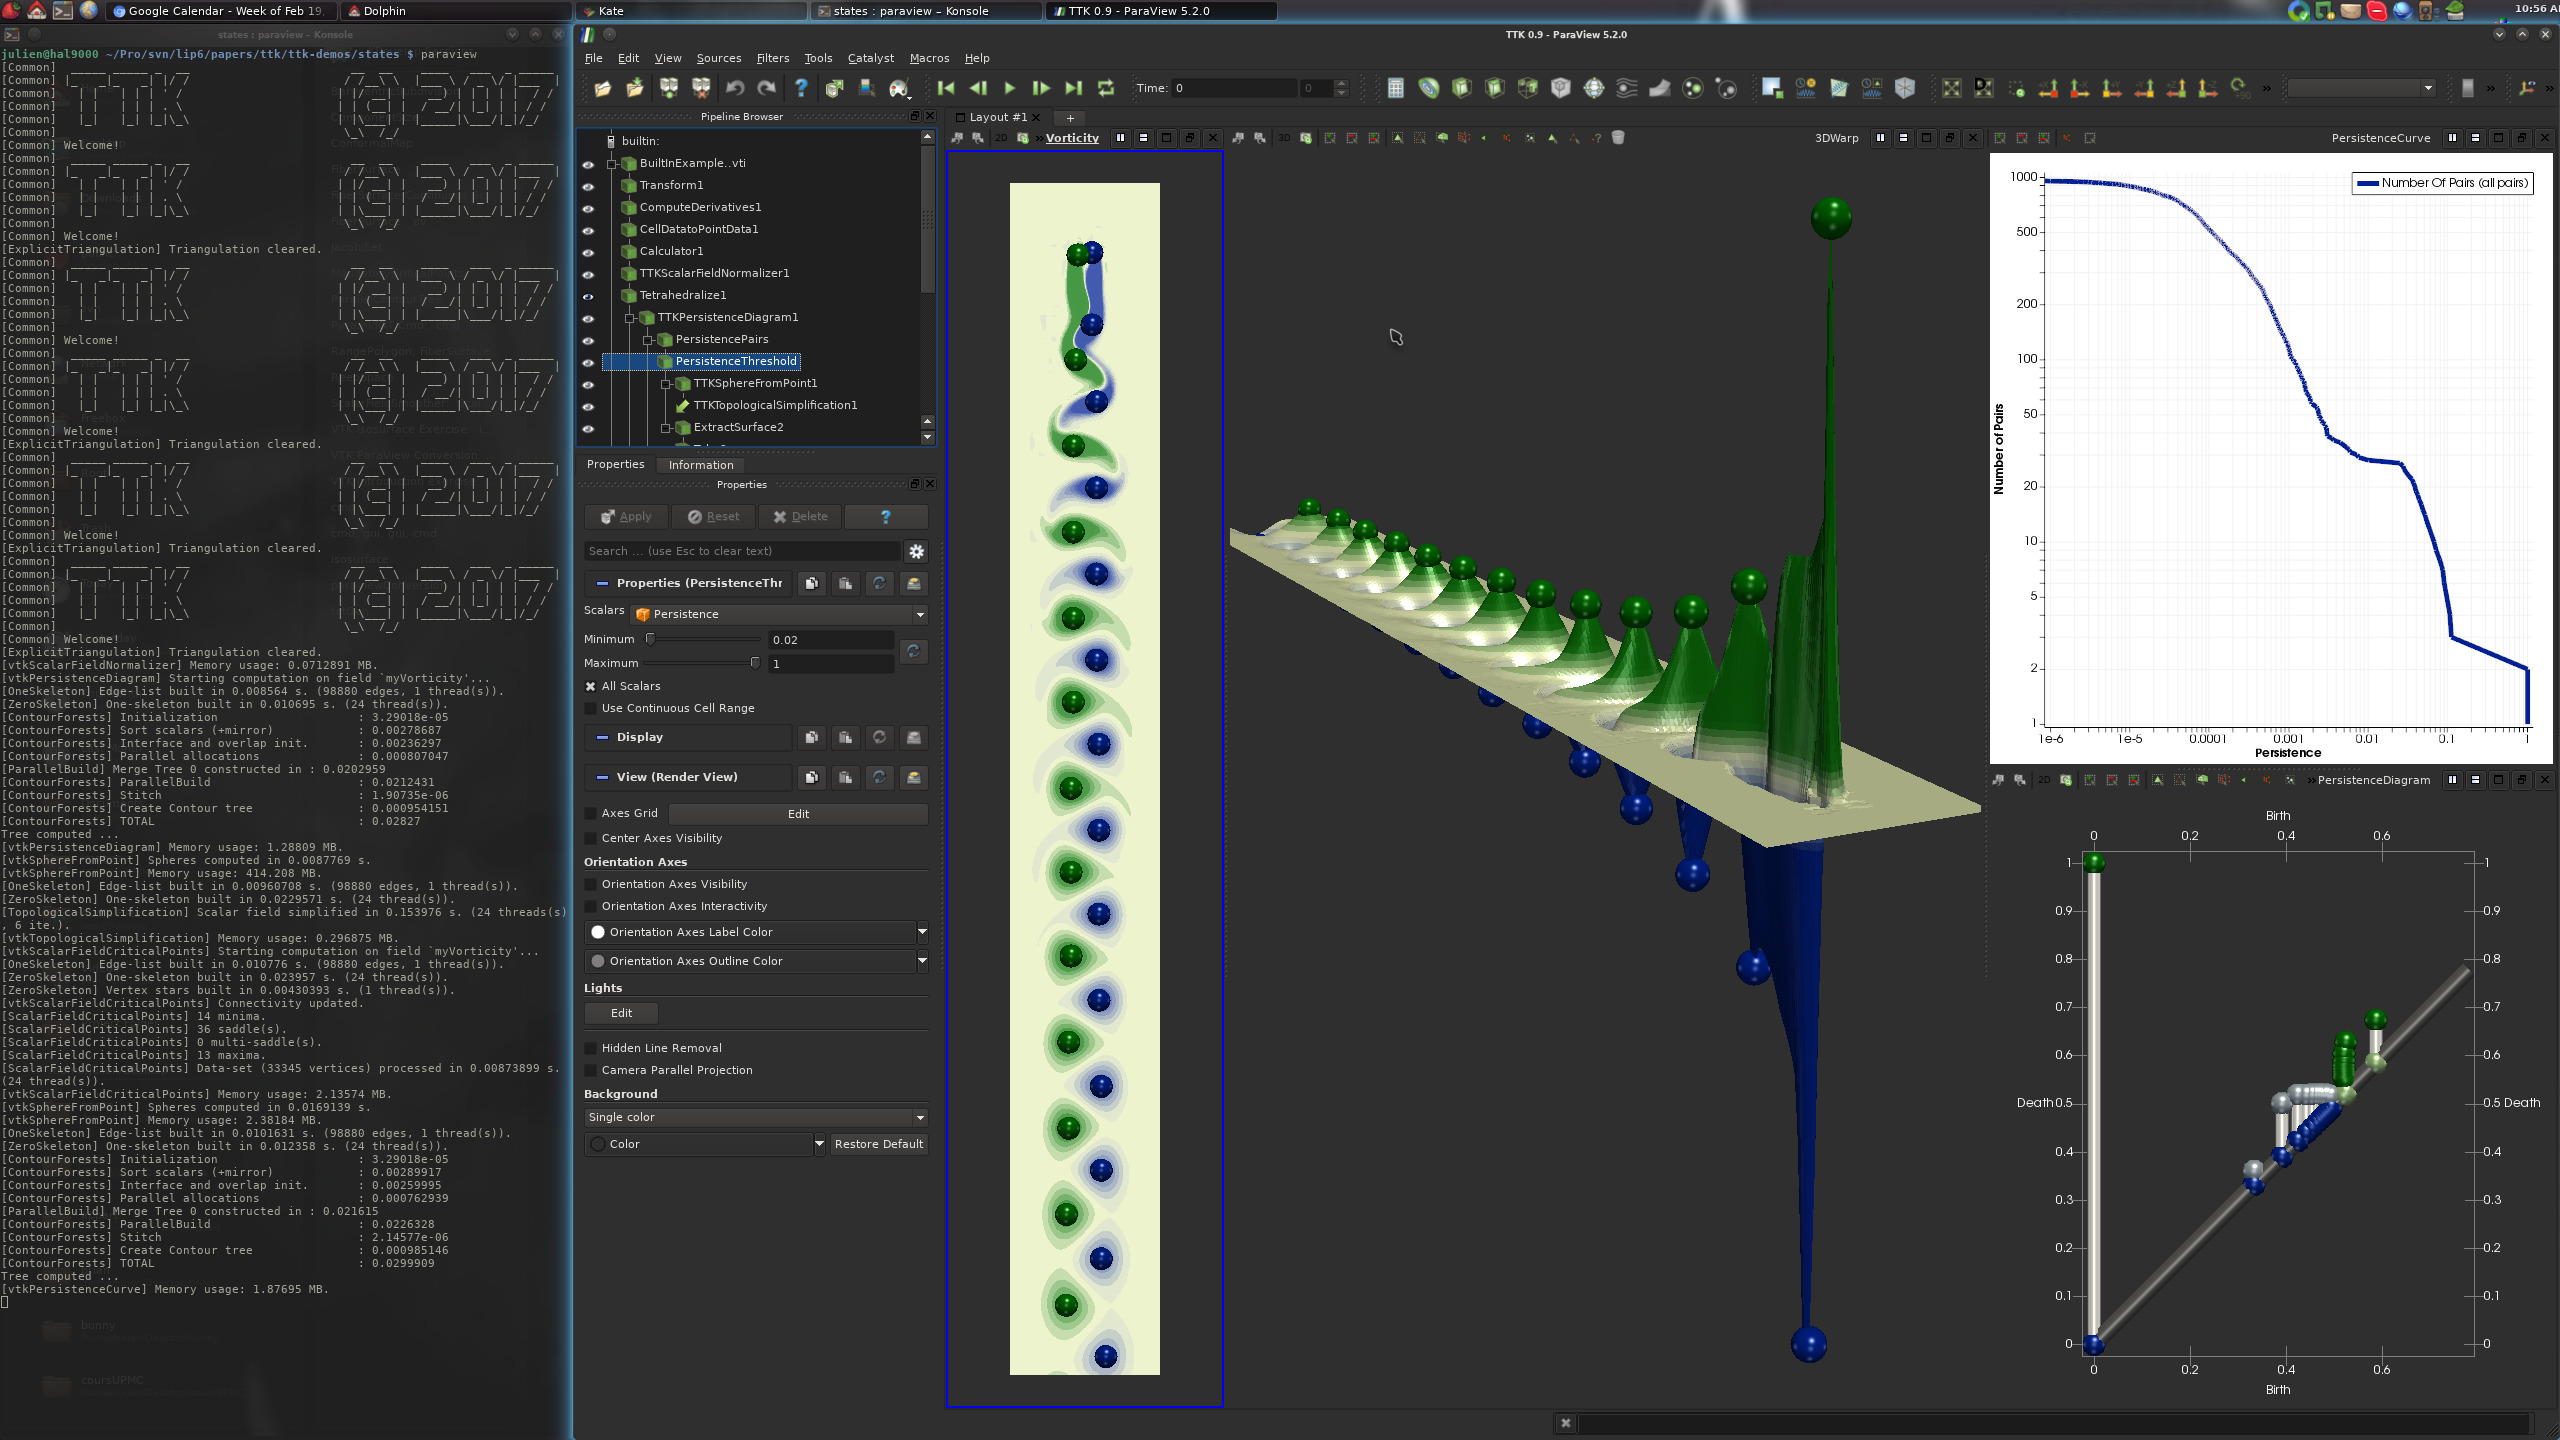
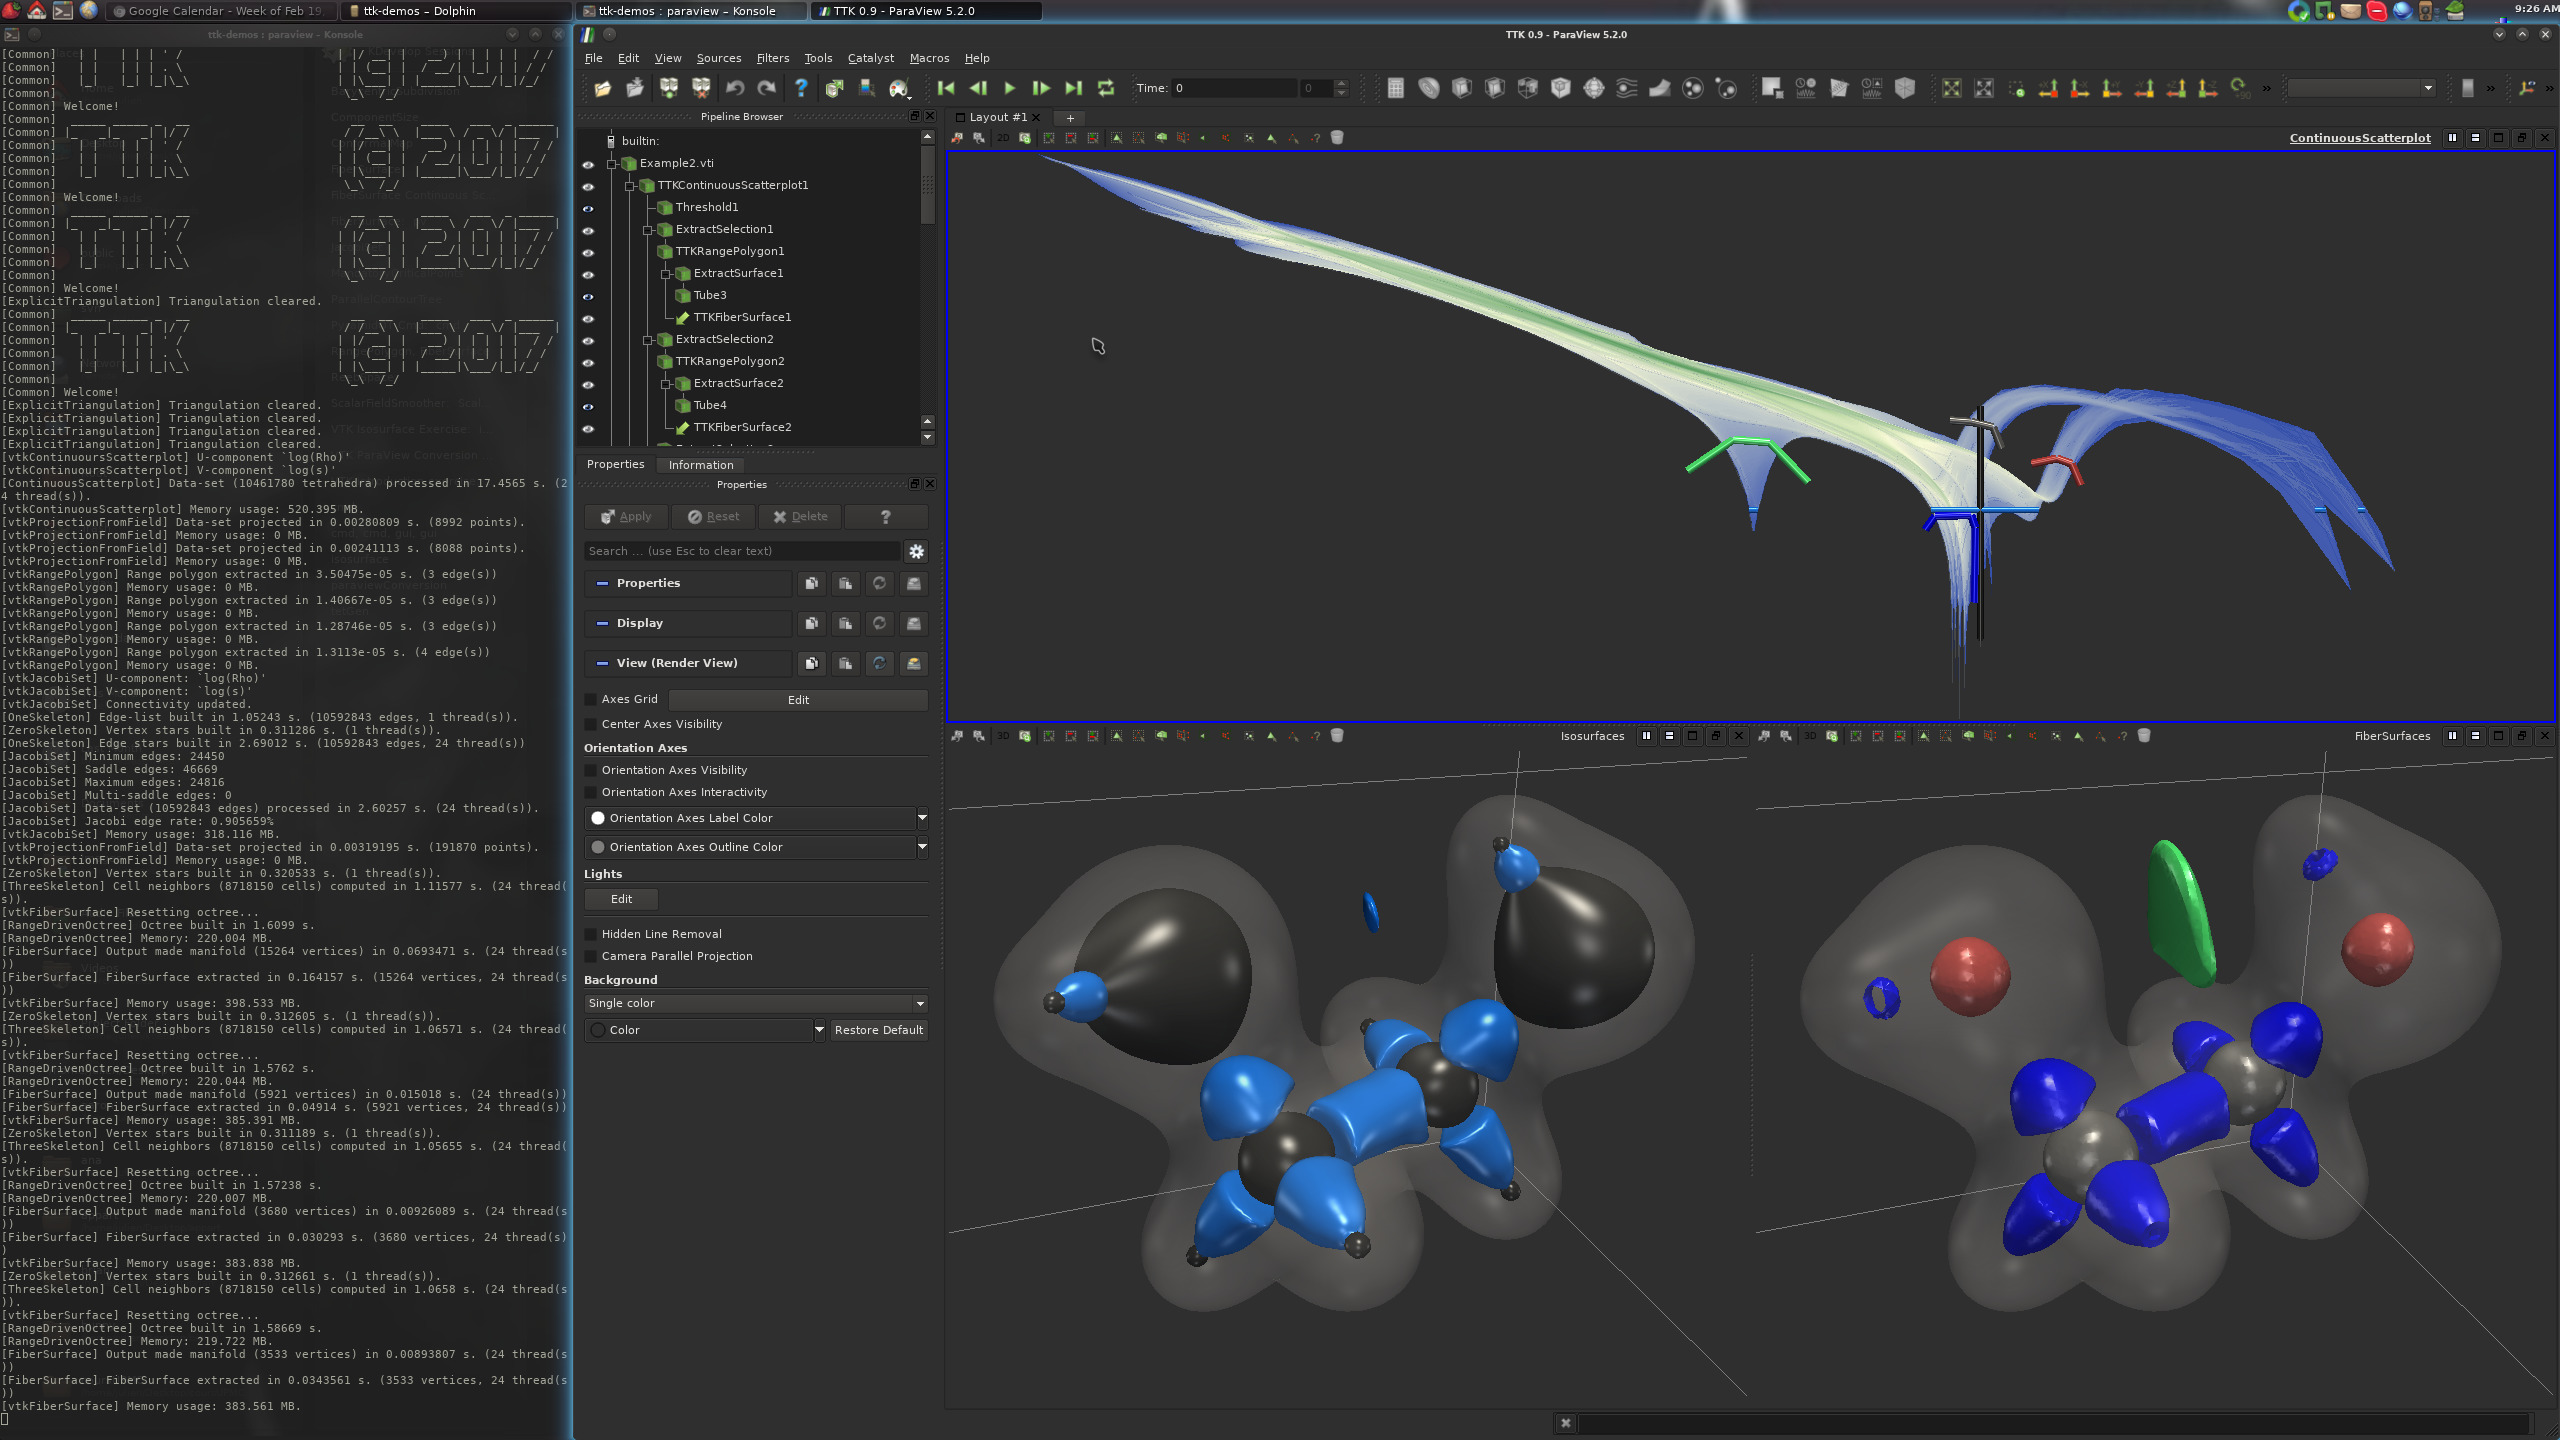
If this is the case, congratulations!
You have just successfully installed TTK on your system!
If you have not applied the optional step 4 of this installation procedure, certain TTK features will not be accessible from ParaView and the above built-in examples will not be available in your ParaView build. However, most of TTK features should still work as expected.
Now, please visit our tutorial page to watch video tutorials showing how to use TTK with ParaView with concrete examples and how to use it from your own Python or C++ code or how to extend TTK by writing up your own module!