Please find below detailed instructions for the installation of TTK
from sources, under Windows.
TTK is also supported on other operating systems:
· Linux installation instructions (default target platform);
· MacOS installation instructions.
These specific notes describe the installation procedure for a Windows 10 operating system with Visual Studio 2019 (but the process should be very similar for other versions).
If you are an advanced user and you do not wish to install ParaView (TTK's main user interface), you still have the possibility to install TTK without ParaView and VTK support (although we highly recommend to activate it).
In that case, simply download TTK as described in section 1, install the dependencies as detailed in section 2 and finally, directly jump to section 6 ("Installing TTK").
Examples showing how to use TTK libraries from your own C++ code can be found on this page.
Most users will want to activate TTK's ParaView support.
The remainder of these notes describe the installation of the version 0.9.9 of TTK along with the version 5.8.1 of ParaView. Other versions of either software packages may require slight variations in the installation procedure. For earlier versions of both software packages, you may want to check out previous versions of our installation notes for Windows:
· TTK 0.9.7 with ParaView 5.6.0.
· TTK 0.9.6 with ParaView 5.5.2.
· TTK 0.9.5 with ParaView 5.5.0.
· TTK 0.9.4 with ParaView 5.4.1.
Please ensure that you have no other Python installation already in your system and check the "Add Anaconda to the Windows PATH Environment variable" box during the Anaconda installation process. This will help TTK to find all its dependencies at build and run-time.
Once all is installed, please open an Anaconda Prompt and type
· eigen (for scalar field design, version 3.3.7 or later).
· graphviz (for graph drawing features, version 2.40.1 or later).
· scikit-learn for Python3 (for data reduction features, version 0.19.0 or later).
· Spectra (for the computation of the eigenfunctions of the Laplace-Beltrami operator, version 0.8.1 or later).
· sqlite (for cinema query features, version 3.24.0 or later);
· ZFP (for advanced compression support, version 0.5.4 or later).
· zlib (for further compression support, version 1.2.11 or later)
All these dependencies (except for graphviz) can be easily installed with Anaconda. Open an Anaconda Prompt and use this command:
Under Visual Studio, make sure to select the target named
Build it and close Visual Studio. Re-open it with administrator rights and select the
Change the
and
Run the following commands to configure TTK with CMake:
Click on the "Configure" button and select the appropriate generator (in these notes, "Visual Studio 16 2019 Win64" for x64-bit applications). If you are an advanced user and you do not wish to activate TTK's ParaView support, set the CMake variable
If you are an advanced user and you do not even wish to activate TTK's VTK support, set the CMake variables
Click on the "Generate" button. Next, click on the "Open project" button.
Under Visual Studio, make sure to select the target named
Build it and close Visual Studio. Re-open it with administrator rights and select the
Change the
and
If you got to this point without (too many) errors, then congratulations!
You have just successfully installed TTK on your Windows system!
The simplest way to test it is to open ParaView with a
TTK is also supported on other operating systems:
· Linux installation instructions (default target platform);
· MacOS installation instructions.
These specific notes describe the installation procedure for a Windows 10 operating system with Visual Studio 2019 (but the process should be very similar for other versions).
If you are an advanced user and you do not wish to install ParaView (TTK's main user interface), you still have the possibility to install TTK without ParaView and VTK support (although we highly recommend to activate it).
In that case, simply download TTK as described in section 1, install the dependencies as detailed in section 2 and finally, directly jump to section 6 ("Installing TTK").
Examples showing how to use TTK libraries from your own C++ code can be found on this page.
Most users will want to activate TTK's ParaView support.
The remainder of these notes describe the installation of the version 0.9.9 of TTK along with the version 5.8.1 of ParaView. Other versions of either software packages may require slight variations in the installation procedure. For earlier versions of both software packages, you may want to check out previous versions of our installation notes for Windows:
· TTK 0.9.7 with ParaView 5.6.0.
· TTK 0.9.6 with ParaView 5.5.2.
· TTK 0.9.5 with ParaView 5.5.0.
· TTK 0.9.4 with ParaView 5.4.1.
1. Installing the dependencies
- CMake (tested with 3.10.0)
- Anaconda3
- Visual Studio Community (tested with the 2019 edition)
Please ensure that you have no other Python installation already in your system and check the "Add Anaconda to the Windows PATH Environment variable" box during the Anaconda installation process. This will help TTK to find all its dependencies at build and run-time.
Once all is installed, please open an Anaconda Prompt and type
conda install -c anaconda qt boost
QT_PLUGIN_PATH environment
variable: make it point to the \Library\plugins
subdirectory of your Anaconda installation. In a similar manner,
the PYTHONPATH environment variable must also point to
the Lib Anaconda installation subdirectory.
Optional dependencies
In order to enjoy the complete set of TTK features, we also recommend to install the following, optional dependencies:· eigen (for scalar field design, version 3.3.7 or later).
· graphviz (for graph drawing features, version 2.40.1 or later).
· scikit-learn for Python3 (for data reduction features, version 0.19.0 or later).
· Spectra (for the computation of the eigenfunctions of the Laplace-Beltrami operator, version 0.8.1 or later).
· sqlite (for cinema query features, version 3.24.0 or later);
· ZFP (for advanced compression support, version 0.5.4 or later).
· zlib (for further compression support, version 1.2.11 or later)
All these dependencies (except for graphviz) can be easily installed with Anaconda. Open an Anaconda Prompt and use this command:
conda install -c conda-forge eigen=3.3.8 spectralib zfp scikit-learn
2. Download TTK
Download TTK's source code archivettk-0.9.9.zip from the
download page and decompress
it.
3. Download ParaView
Download ParaView's source code archivettk-paraview-5.8.1.zip from
GitHub
and decompress it.
4. Installing ParaView
Open a "x64 Native Tools Command Prompt for VS 2019" in the Windows Startup menu and run the following commands to configure ParaView with CMake:
cd ttk-paraview-5.8.1
mkdir build
cd build
cmake-gui ..
Under Visual Studio, make sure to select the target named
ALL_BUILD and change the global configuration from
"Debug" to "Release".
Build it and close Visual Studio. Re-open it with administrator rights and select the
INSTALL target to install the binaries.
Change the
PATH environment variable to
include:
C:\Program Files (x86)\ParaView\bin,
CMAKE_PREFIX_PATH to include
C:\Program Files (x86)\ParaView\lib\cmake,
and
PYTHONPATH to include
C:\Program Files (x86)\ParaView\bin\Lib\site-packages,
5. Installing TTK
Open a new "x64 Native Tools Command Prompt for VS 2019" in the Windows Startup menu and run the following commands to configure TTK with CMake:Run the following commands to configure TTK with CMake:
cd ttk-0.9.9
mkdir build
cd build
cmake-gui ..
Click on the "Configure" button and select the appropriate generator (in these notes, "Visual Studio 16 2019 Win64" for x64-bit applications). If you are an advanced user and you do not wish to activate TTK's ParaView support, set the CMake variable
TTK_BUILD_PARAVIEW_PLUGINS to
OFF.
Examples showing how to use TTK libraries from your
own VTK code can be found
on this page.If you are an advanced user and you do not even wish to activate TTK's VTK support, set the CMake variables
TTK_BUILD_STANDALONE_APPS and
TTK_BUILD_VTK_WRAPPERS to OFF.
Examples showing how to use TTK libraries from your own
C++ code can be found
on this page.Click on the "Generate" button. Next, click on the "Open project" button.
Under Visual Studio, make sure to select the target named
ALL_BUILDand change the global configuration from "Debug"
to "Release".
Build it and close Visual Studio. Re-open it with administrator rights and select the
INSTALL target to install the binaries.
Change the
PATH environment variable to
include C:\Program Files (x86)\ttk\bin,
CMAKE_PREFIX_PATH to include
C:\Program Files (x86)\ttk\lib\cmake,
PV_PLUGIN_PATH to include
C:\Program Files (x86)\ttk\bin\plugins,
and
PYTHONPATH to include
C:\Program Files (x86)\ttk\bin\Lib\site-packages,
If you got to this point without (too many) errors, then congratulations!
You have just successfully installed TTK on your Windows system!
The simplest way to test it is to open ParaView with a
cmd.exe command-line prompt and
type paraview in it.
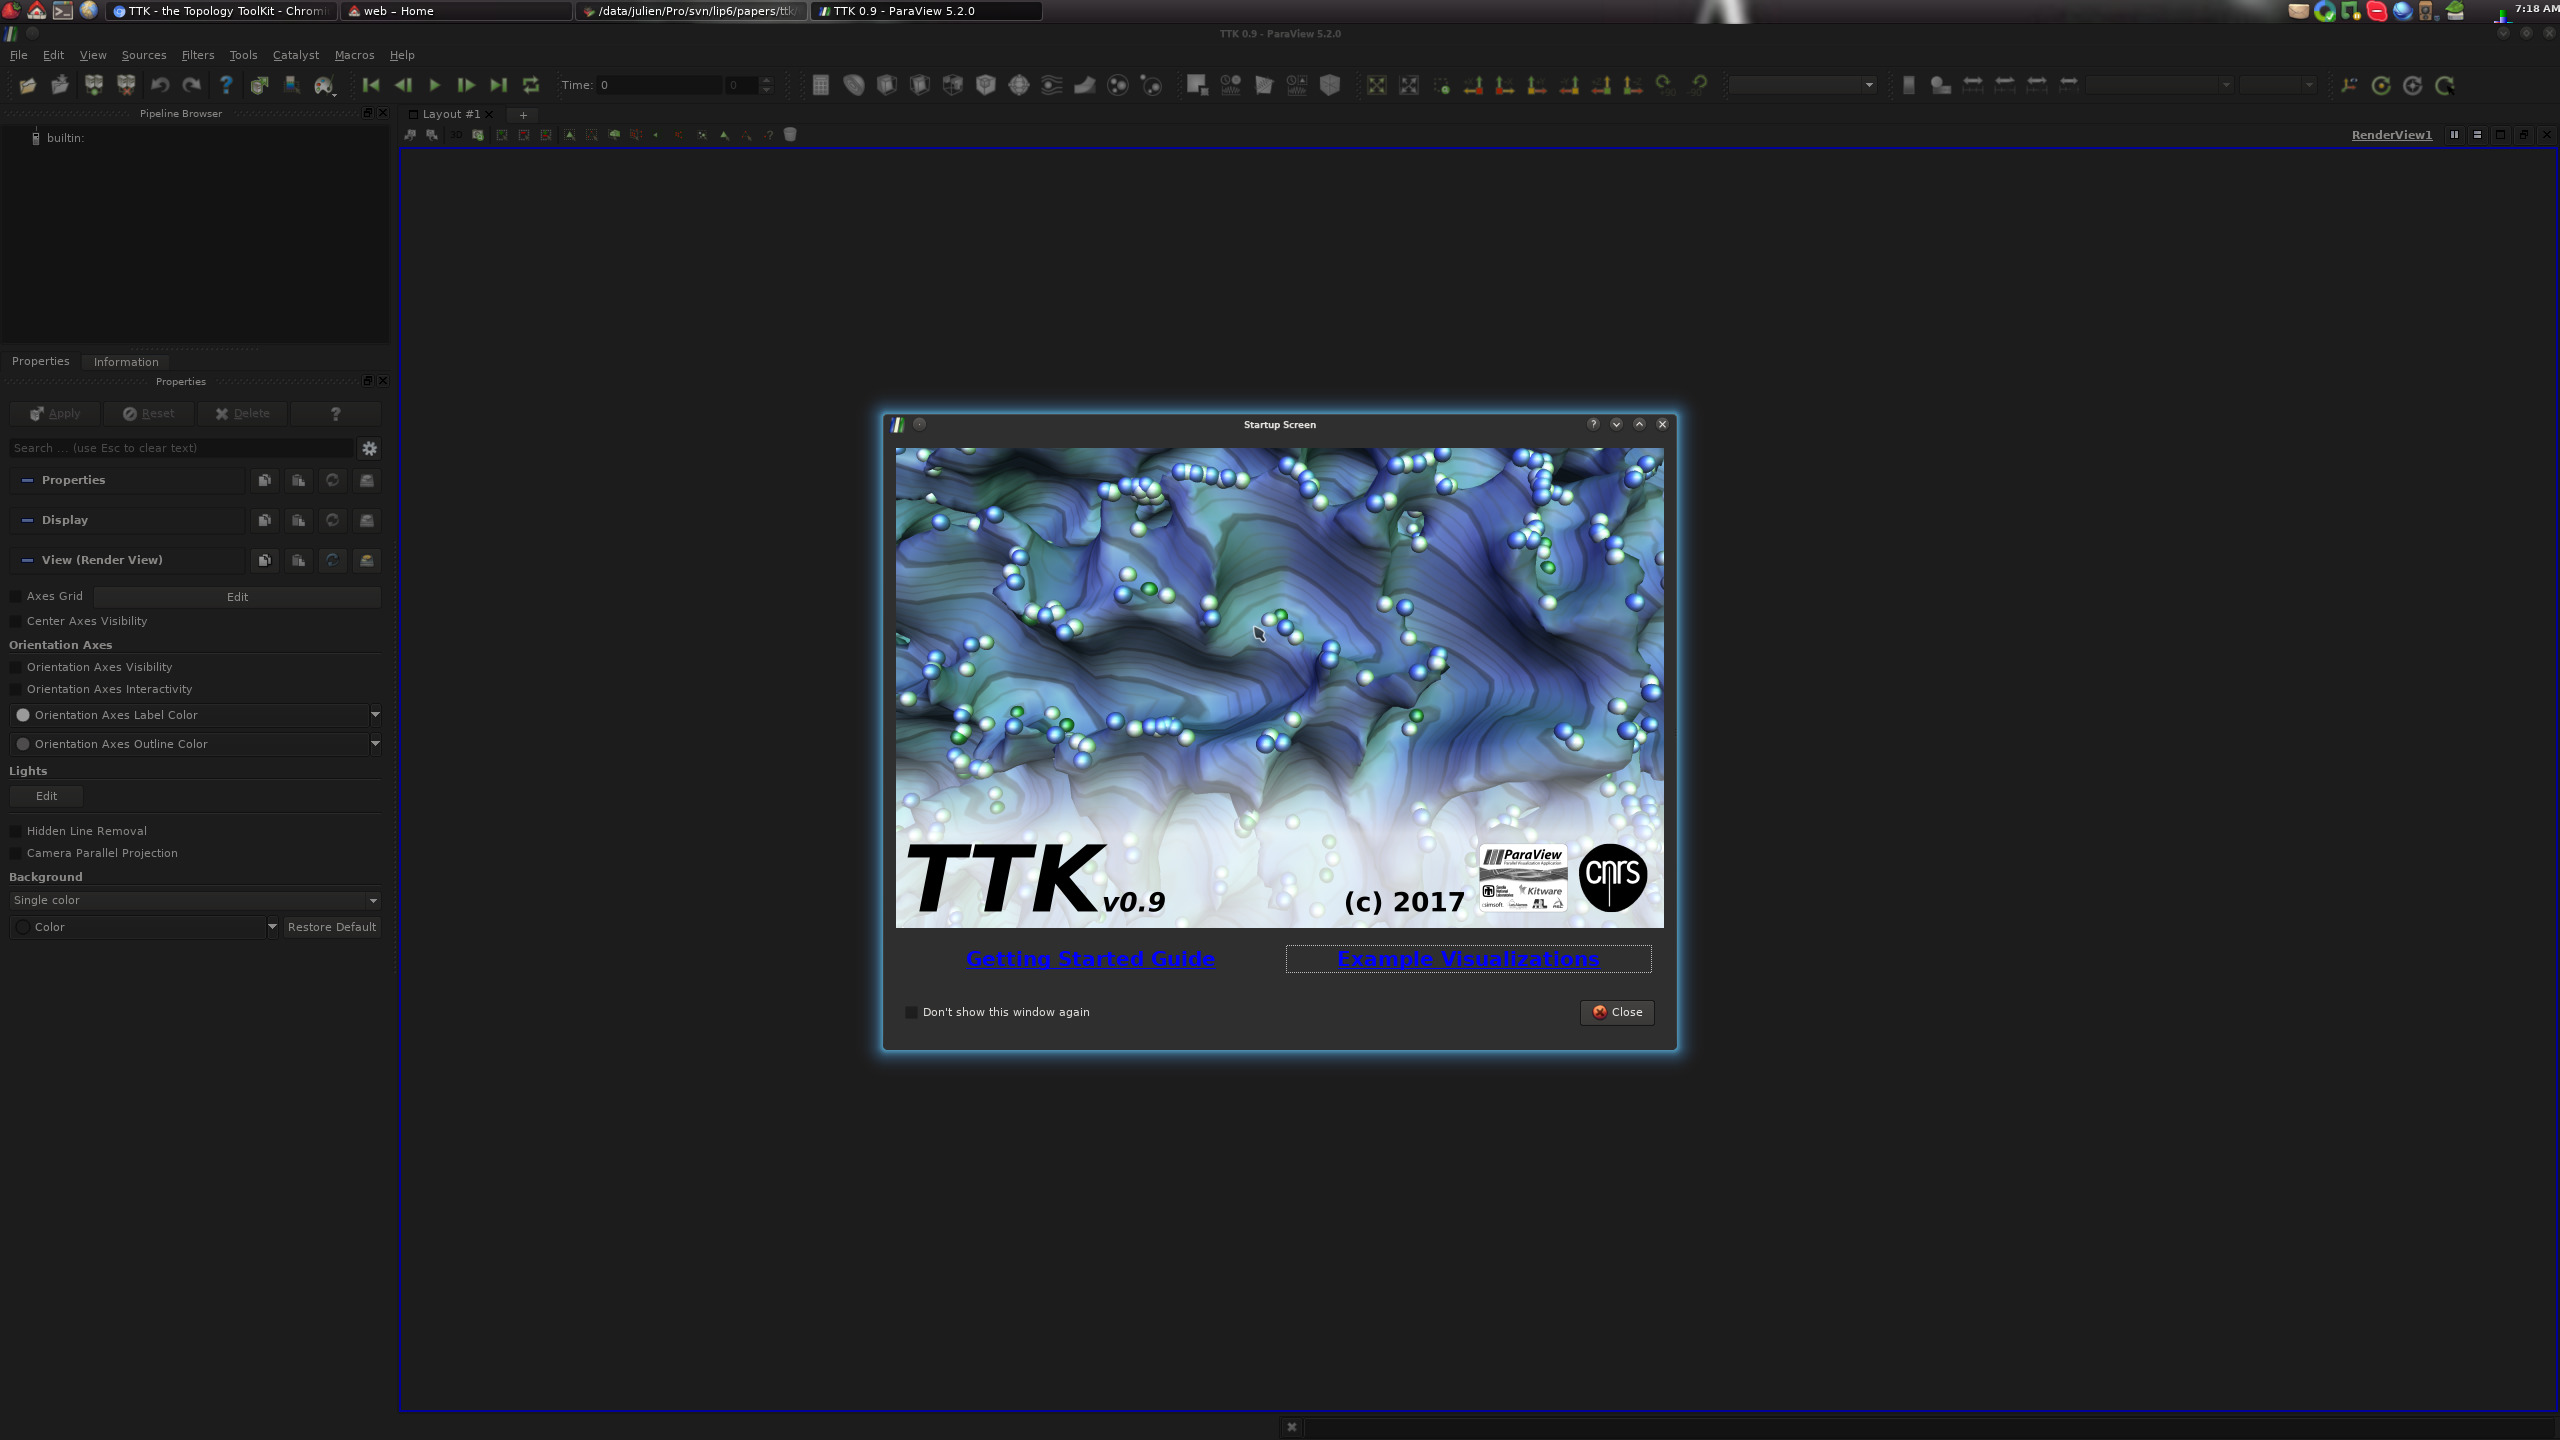
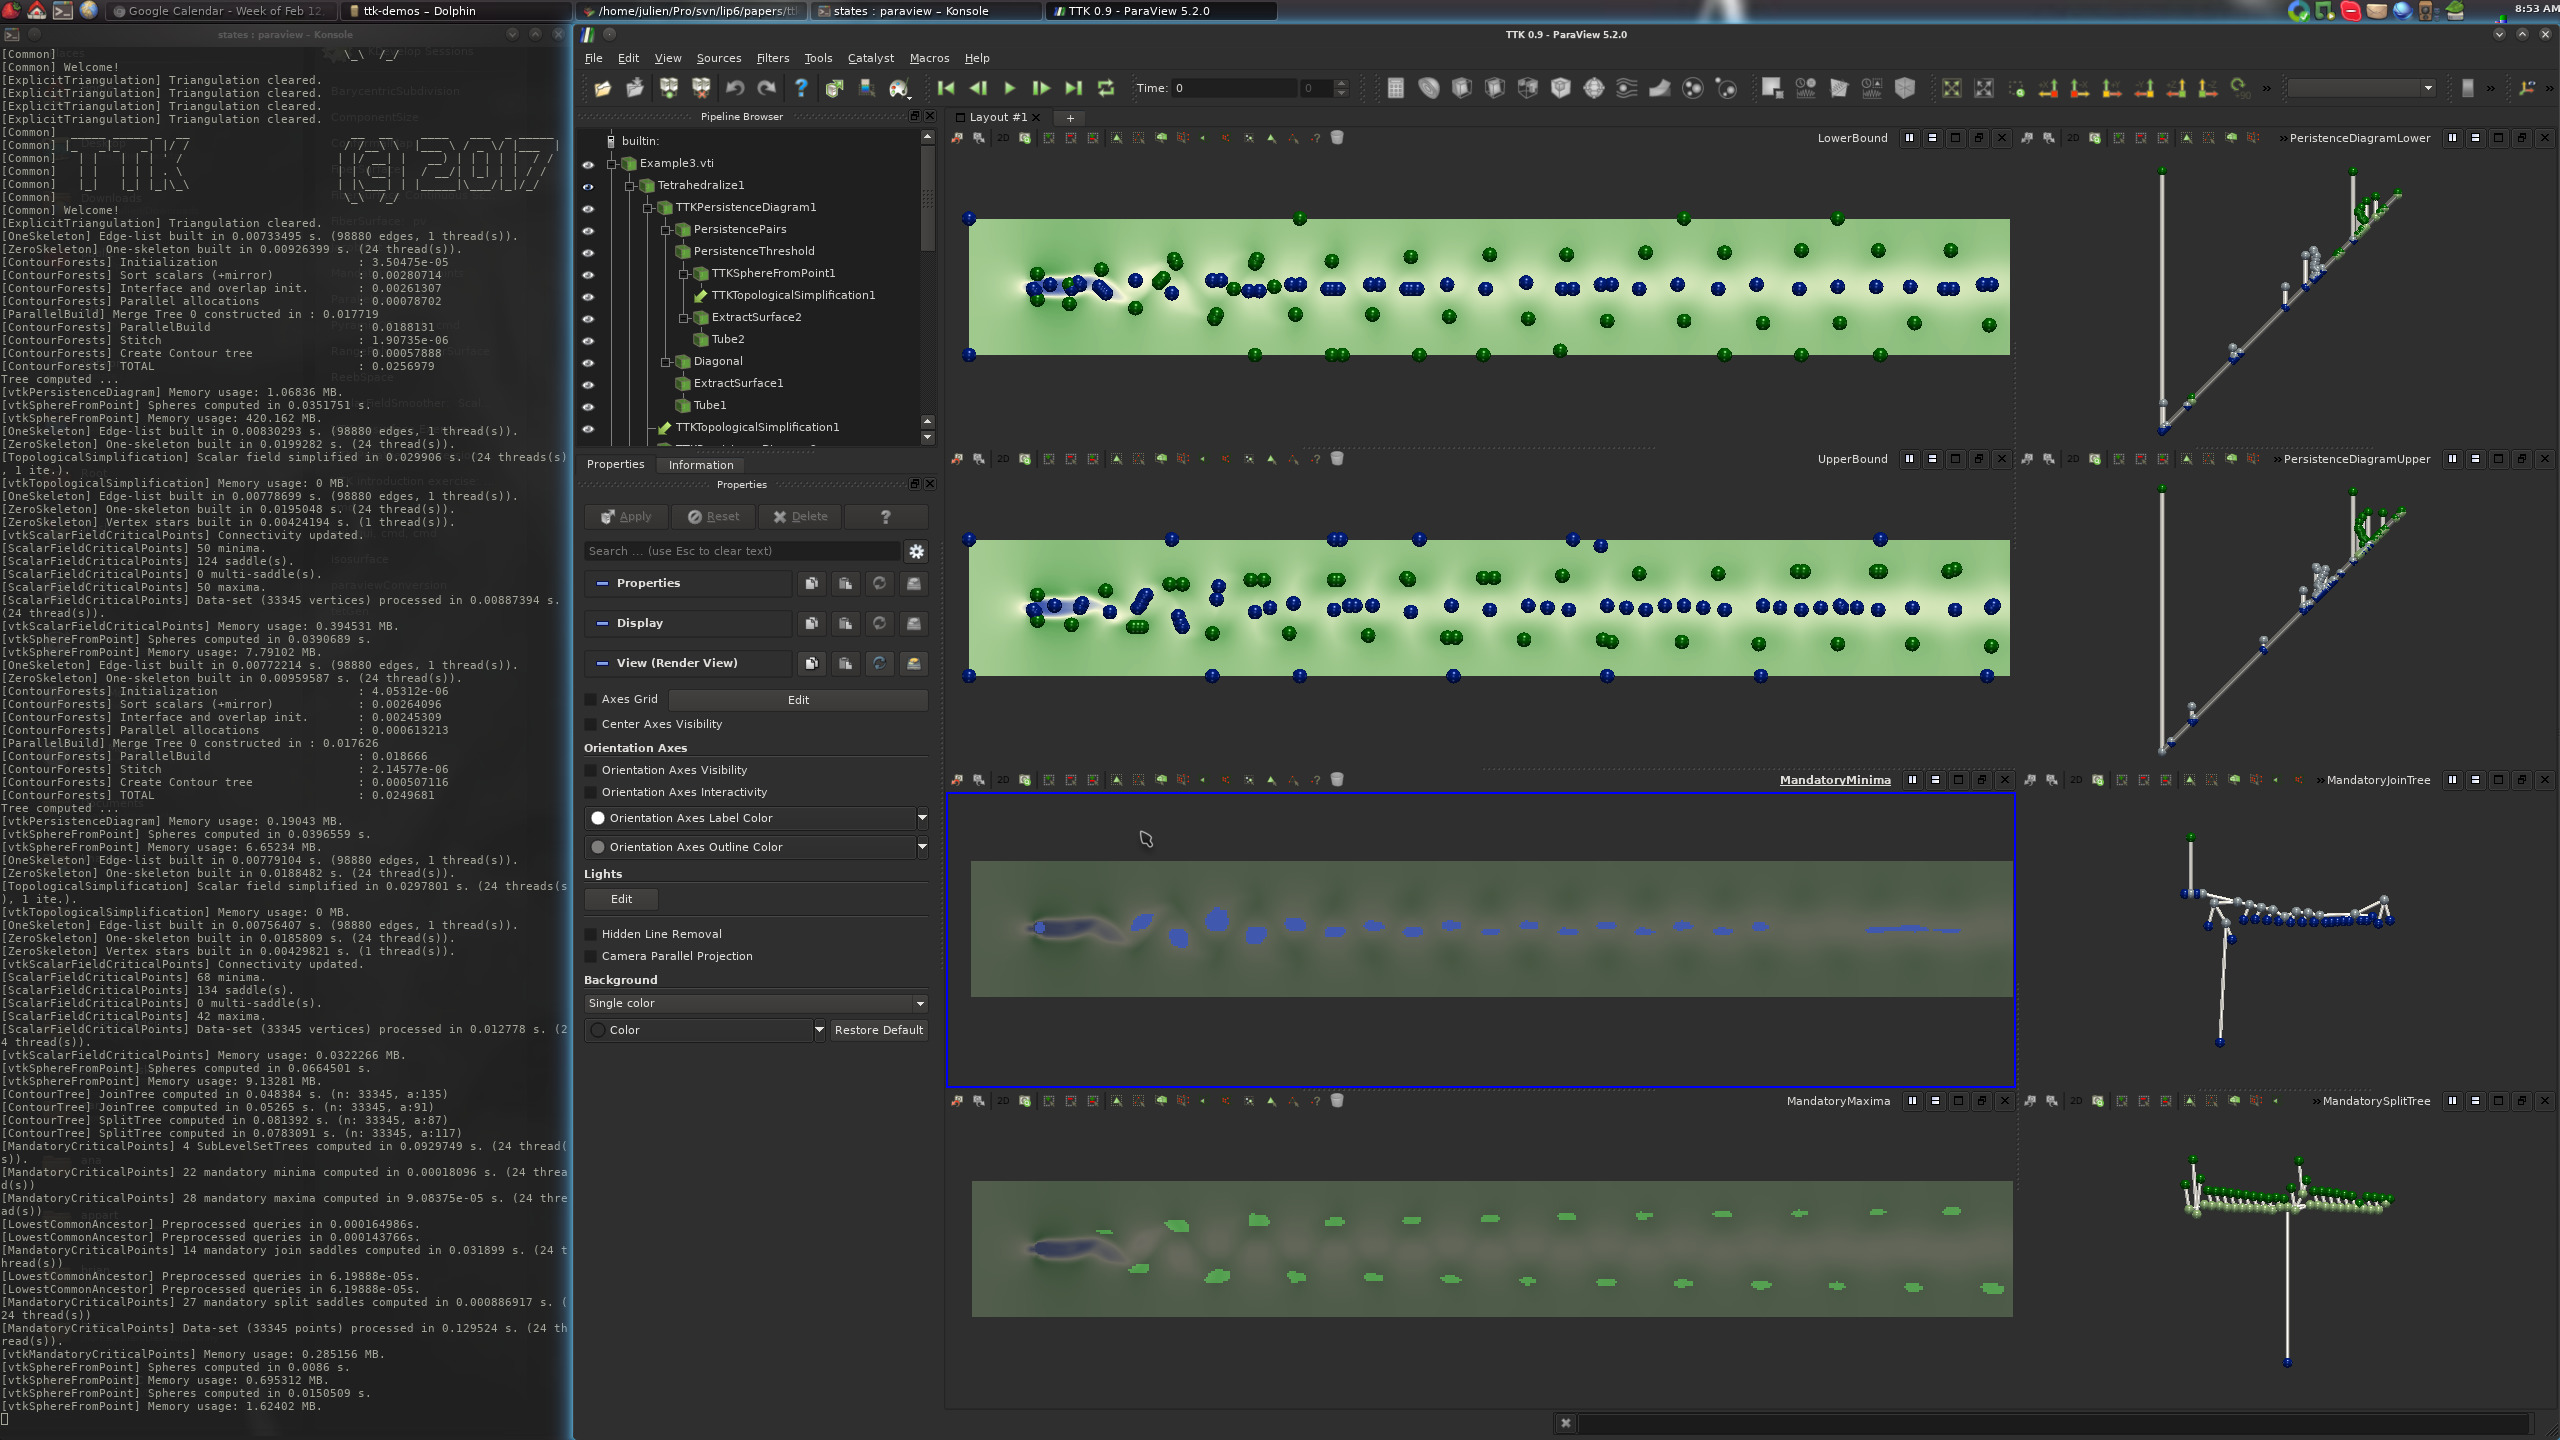
At this point, you should see the following TTK startup screen:
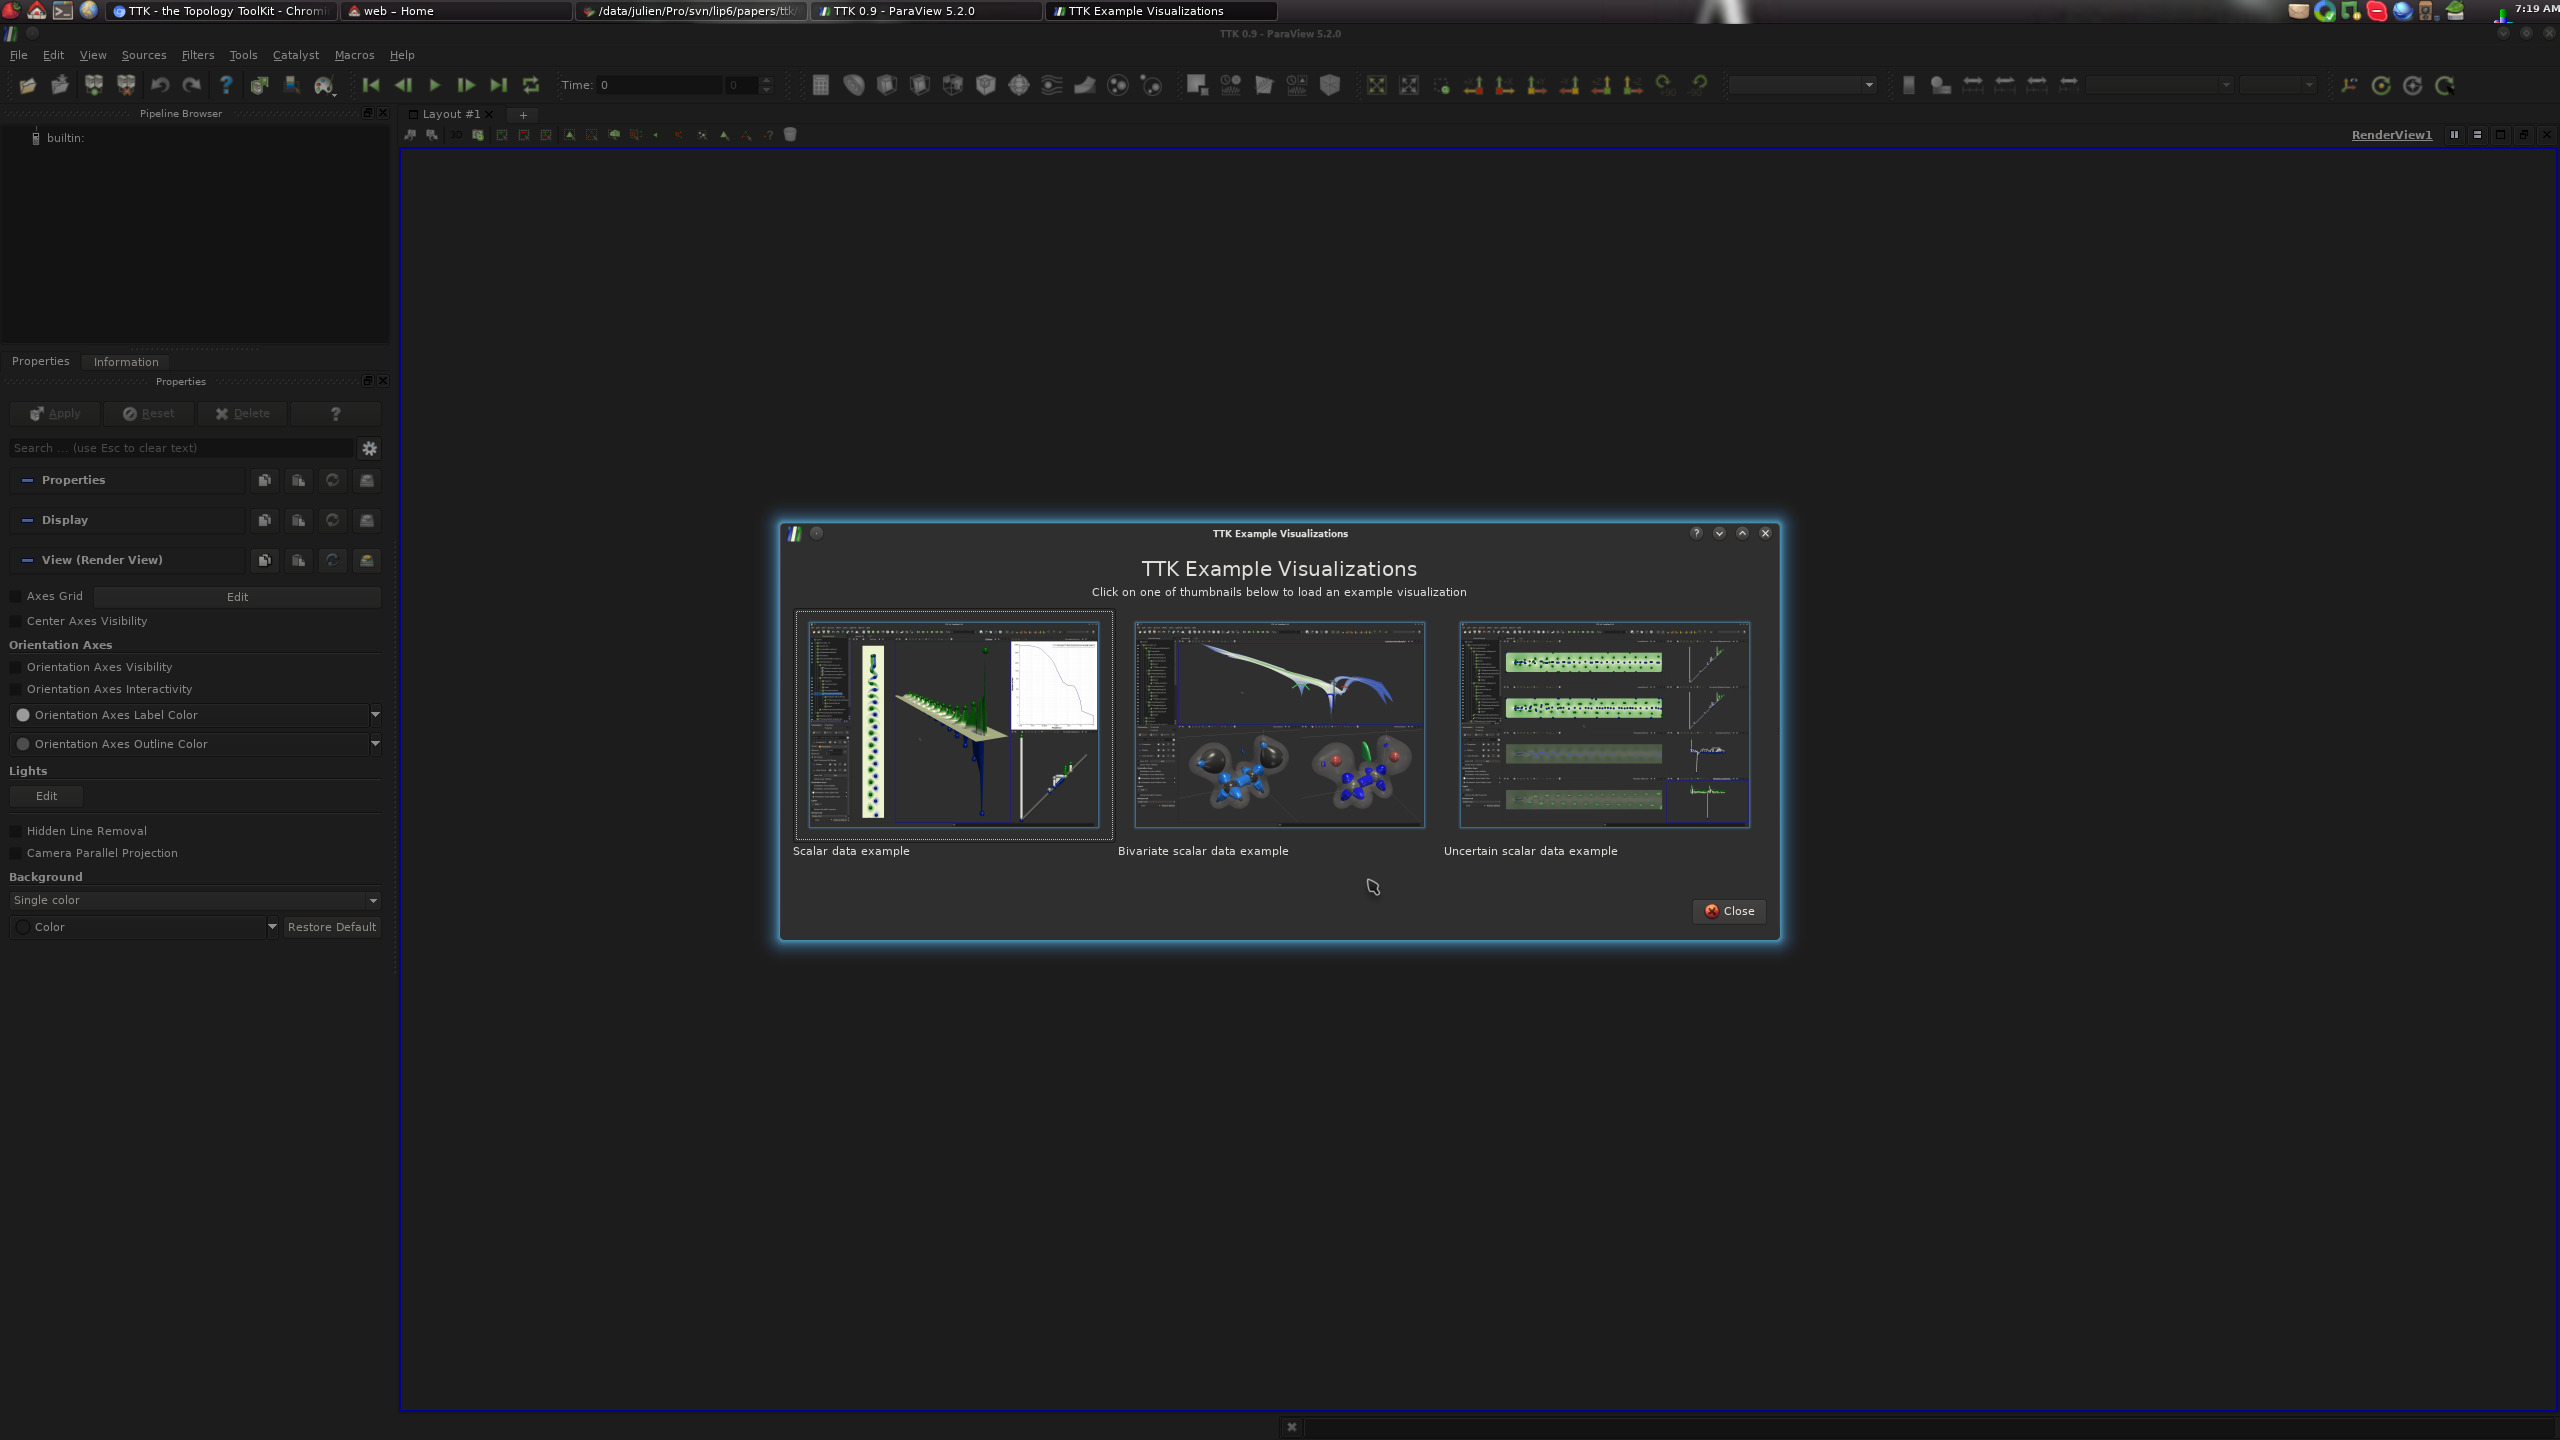
On this screen, clicking on the "Example Visualizations" link should bring you
to the TTK built-in example screen:
From there, clicking on one of the three buttons should generate one of the
following three visualizations:
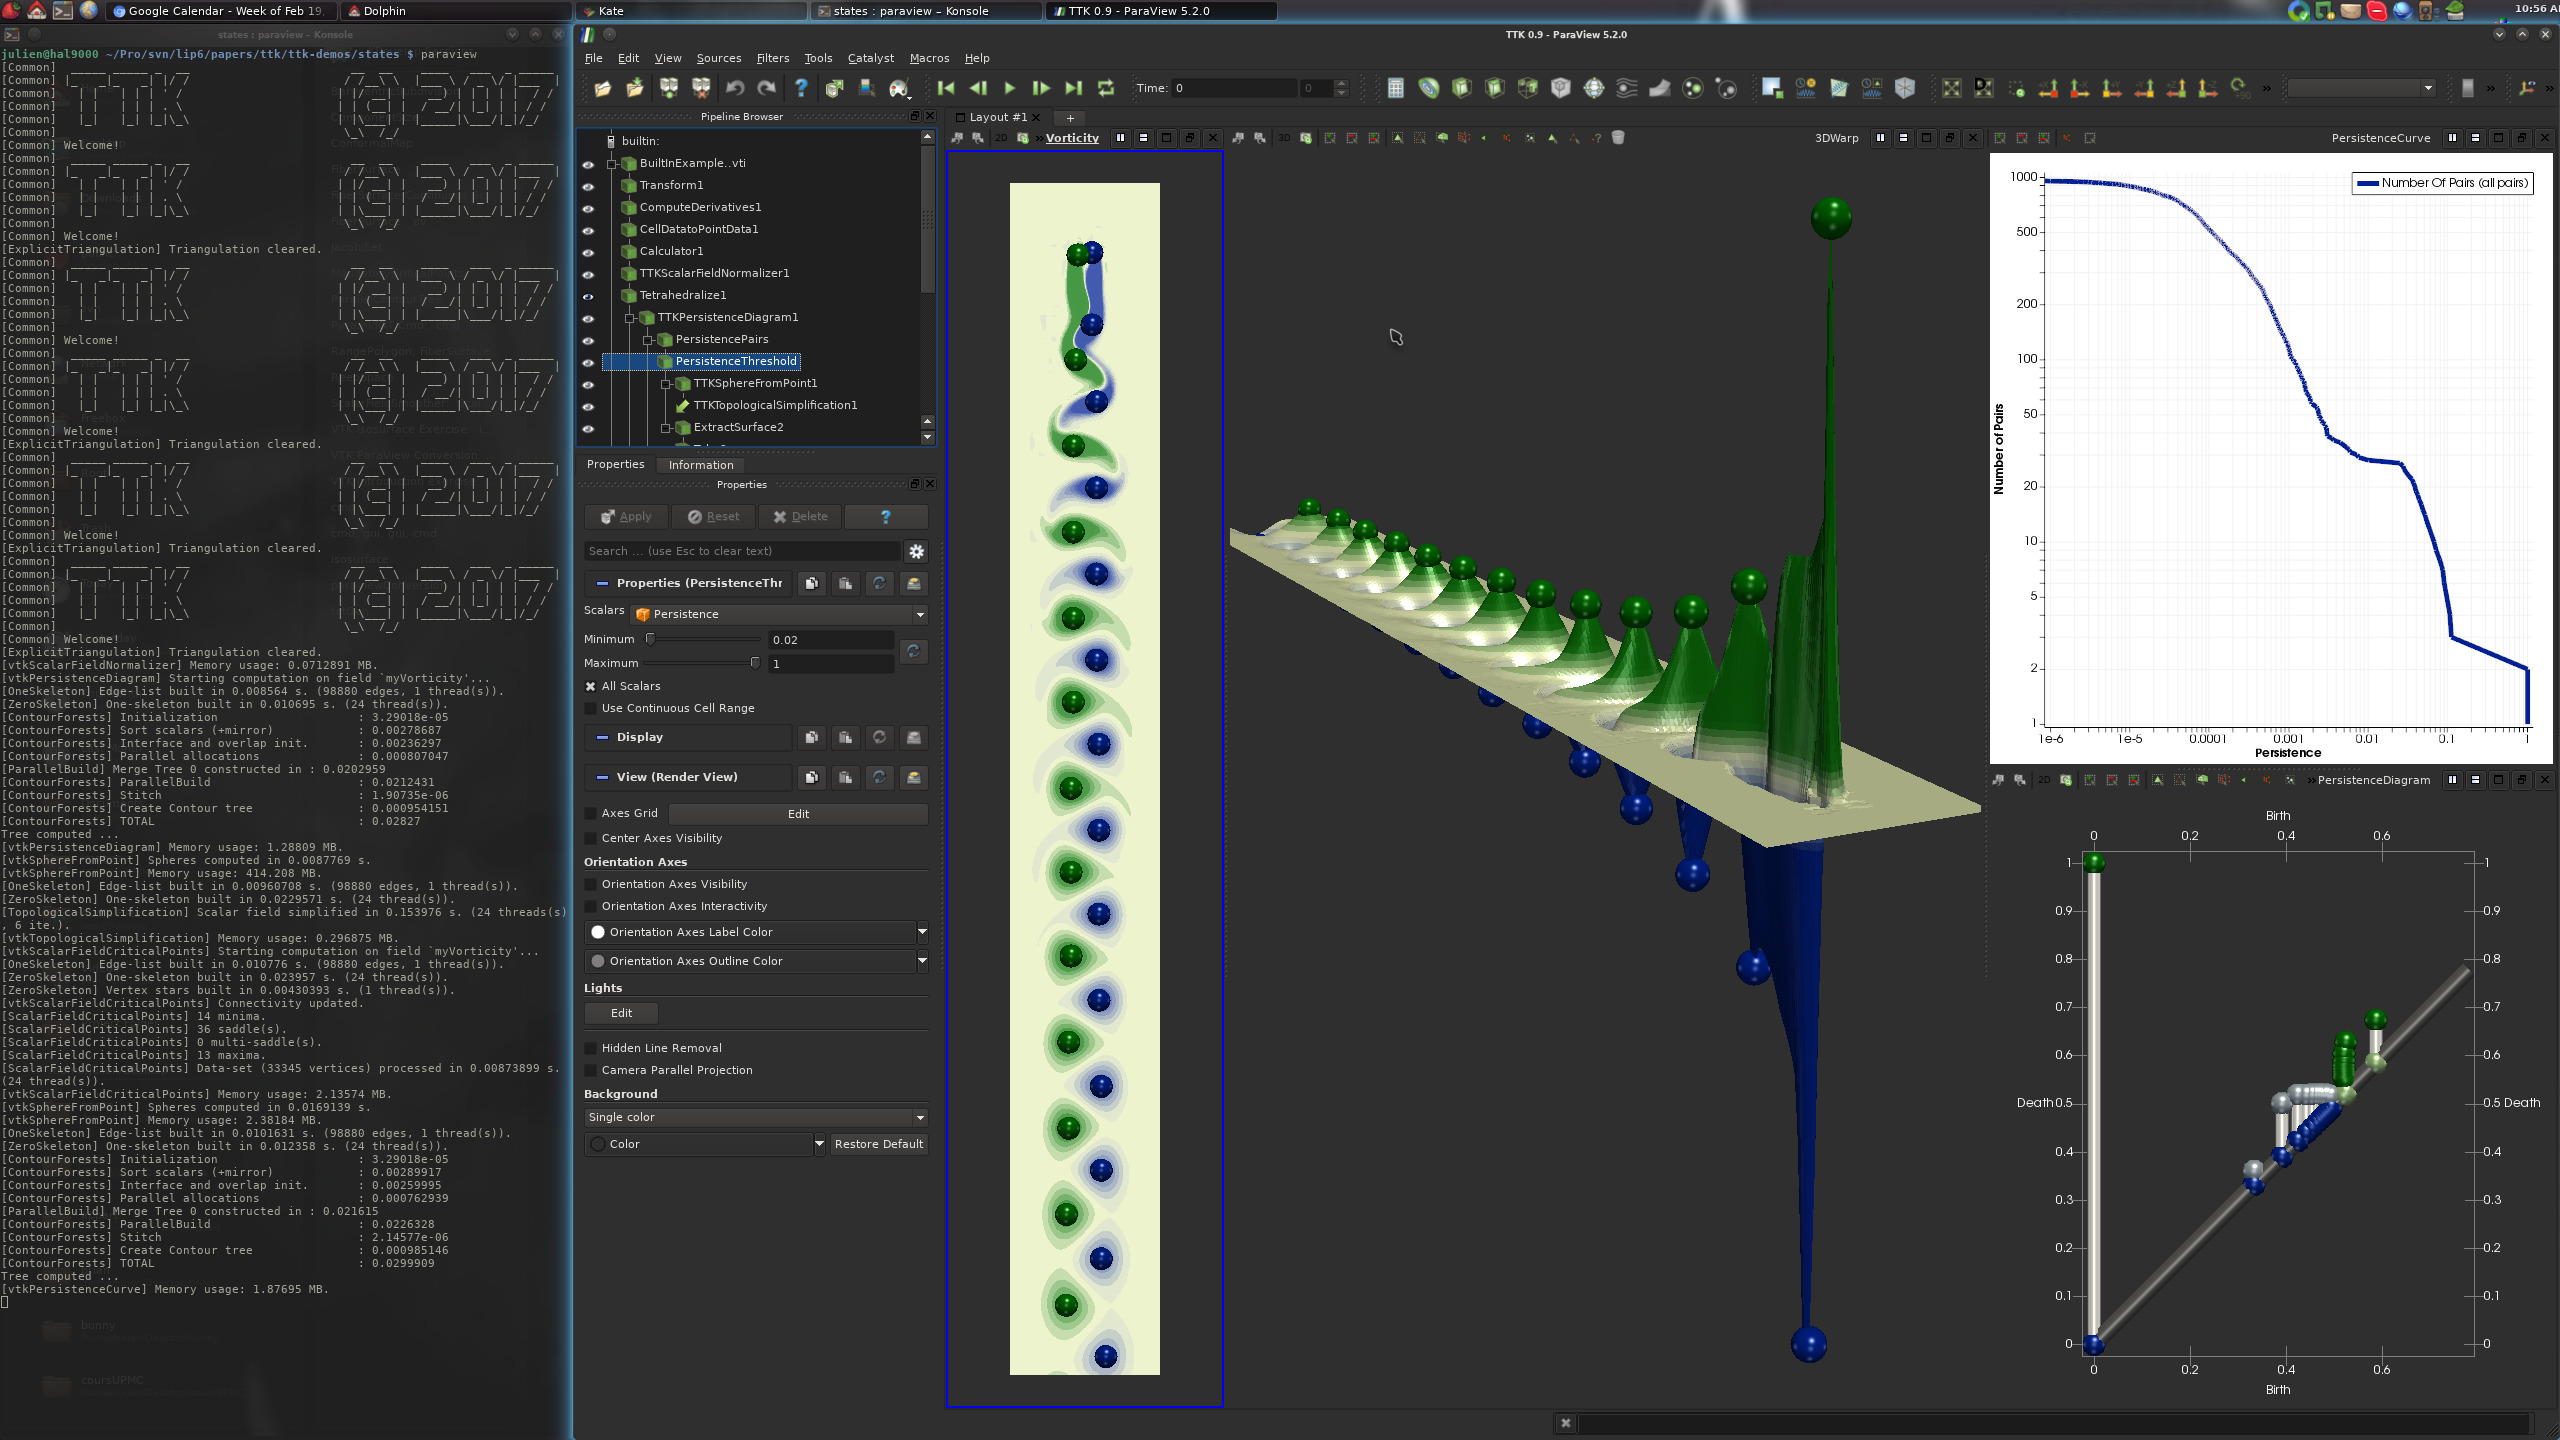
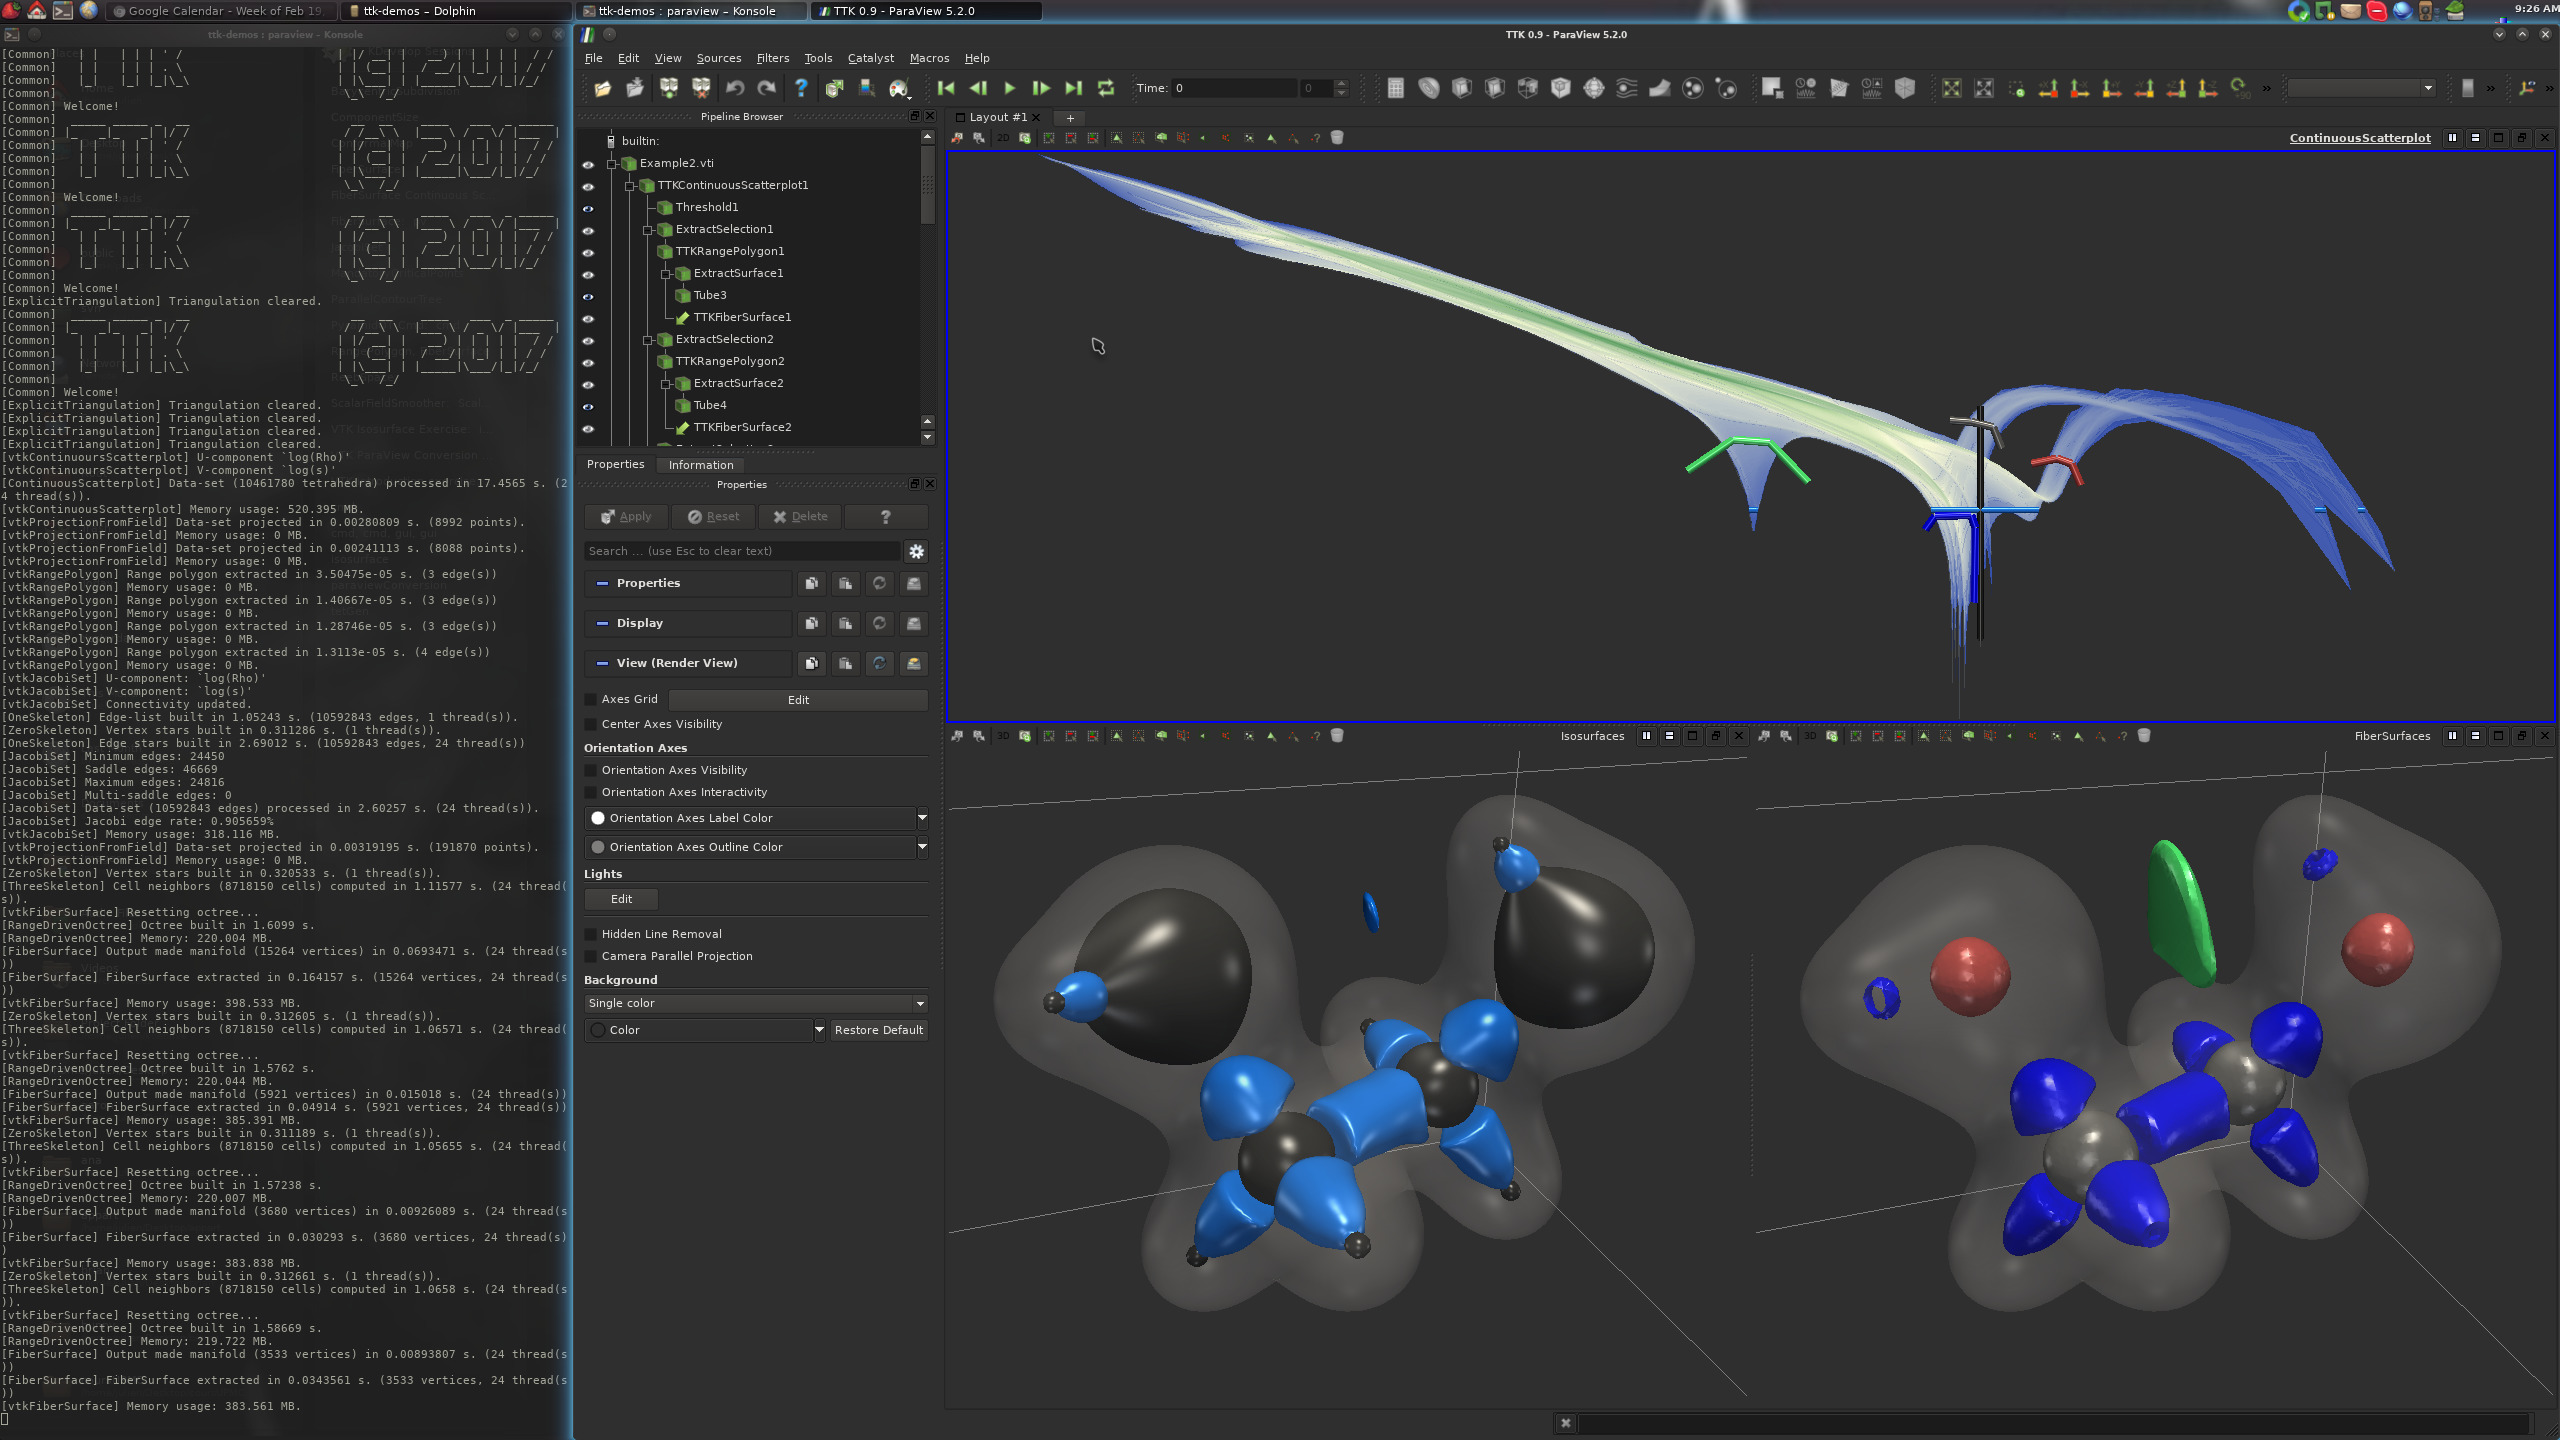
If this is the case, congratulations!
You have just successfully installed
TTK on your system!
Now, please visit our tutorial page to watch video tutorials showing how to use TTK with ParaView with concrete examples and how to use it from your own Python or C++ code or how to extend TTK by writing up your own module!